How to Photograph Captive Animals in a Zoo
A visit to a favourite zoo or animal sanctuary is always a big hit with photographers. And even if you’re not a photographer chances are you’ll have a camera of some sort with you on the day. It’s natural we would want to document our recreational outings, but getting good results can be frustrating. In this post I’ll offer some tips on how to photograph captive animals in a zoo.
What are the Difficulties in Photographing Animals in Zoos?
Well, the one benefit is that the animals are ‘there’. We don’t have to spend weeks or months trailing across the landscape trying to find them. That does make life immeasurably easier, but zoos still have a range of constraints.
Quite obviously, the animals are contained behind barriers. Barriers might be wire mesh fences, or thick glass. The animals themselves might retreat into their houses or burrows. Or they may sit in patches of the worst light we’ve ever seen. We don’t have much choice with the weather here in the UK and it can be very hard to predict what it may be like on any given day. In other words, we have to make the best of what we find.
Photographing Animals through Glass Barriers
As you may have seen yourself, reflections off glass walls are often the biggest hurdle. Or else the light in general may wash out the surface of the glass resulting in a photograph which lacks contrast. Or there may be other visitors behind us wearing reflective brightly coloured clothing. I can distinctly remember an occasion when I visited one of my favourite animal parks only to be tailed later in the day by a group of men wearing hi visibility vests. It turned out they were part of the baggage handling team from a nearby airport and had been able to leave their shift a little earlier that day. The animals weren’t remotely bothered by their attire, but some of the photographers were grinding their teeth.
To get around this wear dark neutral clothing, wait until other visitors behind you have moved on. Then get your camera right up against the glass so the lens hood is almost touching, or actually touching it. You can even get rubberised lens hoods for exactly this purpose. If you have a companion also wearing dark clothing he or she can stand behind you or next to you.
Photographing Animals through Wire Mesh
Mesh can mean almost anything, from the large mesh we see around school playgrounds through to dense chickenwire. The size of the mesh will obviously correlate with the size of the animal. The good news is mesh is not a problem providing we can get as close as possible to it. It’s a case of positioning our camera lens so that the open section of mesh is dead centre. We need to be right up against the mesh for this to be the most effective. If we can then shoot with a wide aperture the mesh which is cutting across the front element will be blurred away to nothing.
Photographing Animals at the Zoo in Bad Light
Bad light is everywhere unfortunately. What we normally mean by this is light which is very harsh and contrasty (lots of highlights and dark shadows cutting across the scene). Or light which is insufficient and very drab and murky. Sometimes we can use harsh light in our favour to create graphic shapes, but at a zoo we would mostly look for even lighting. Bear in mind that these localities are not generally open during times of the day when the light is nicer (although some zoos do hold evening openings in the summer).
By and large we’re there during the middle of the day when the light is rarely ideal. With that in mind we might be hoping for ‘soft light’. This tends to occur when we have light cloud cover which helps to block out and defuse harsh sunlight. We then have to hope that our animal subjects will conveniently place themselves in that light. If they don’t, we can hang around for a while, move on, and return a little bit later for another look.
What about the indoor exhibits where the light is really dim? The only way round this is to crank up your ISO value. There’s no point trying to maintain a low ISO only to find that your photograph is ruined by camera shake or subject movement! Noise is rarely an issue on today’s modern cameras. And it all depends on what you intend to do with your photographs afterwards. If you’re going to make large prints then you do need to be more mindful of noise. But if you’re only going to make small prints or show your photographs on the web and you don’t have to worry too much. A few of the photographs below were shot at ISO 4000 and I was using a combination of a Canon 5DMkiii (those photographs are a few years old) and an Olympus OMD EM5. In fact most of the images were taken with the Olympus camera with the Panasonic 100-300 lens.
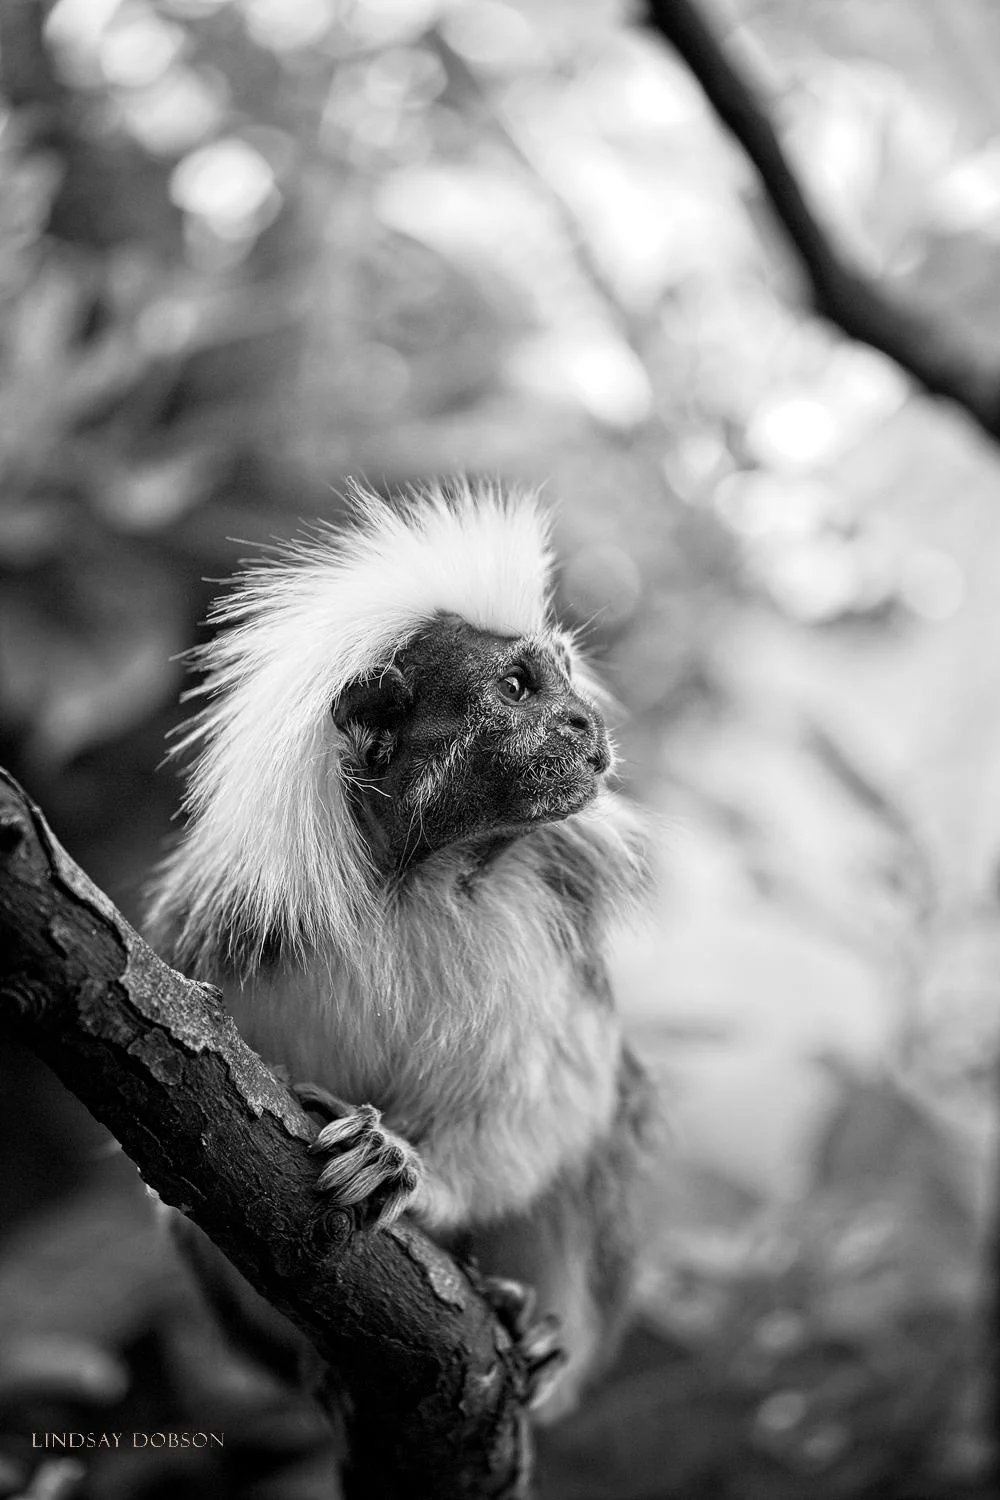
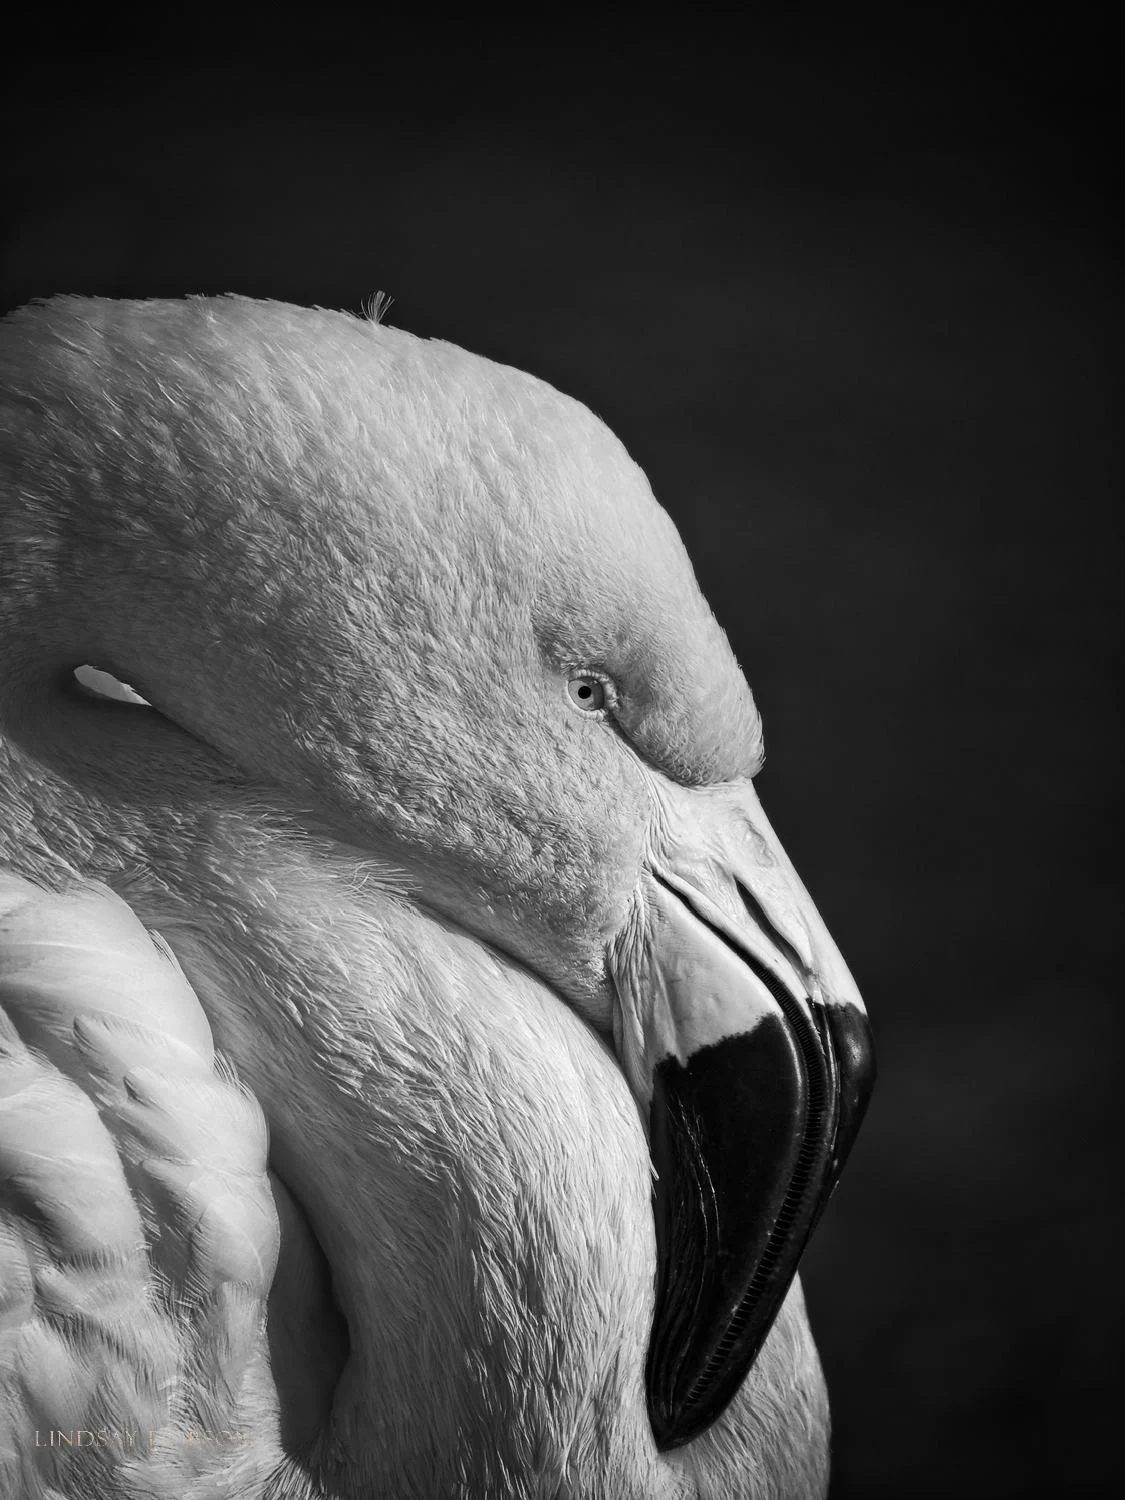
If you find any amount of noise objectionable you can convert your photographs to black-and-white. The noise then becomes less obvious and it looks quite natural, more like film grain. Give it a go and see how you feel.
Distractions within the Zoo Environment
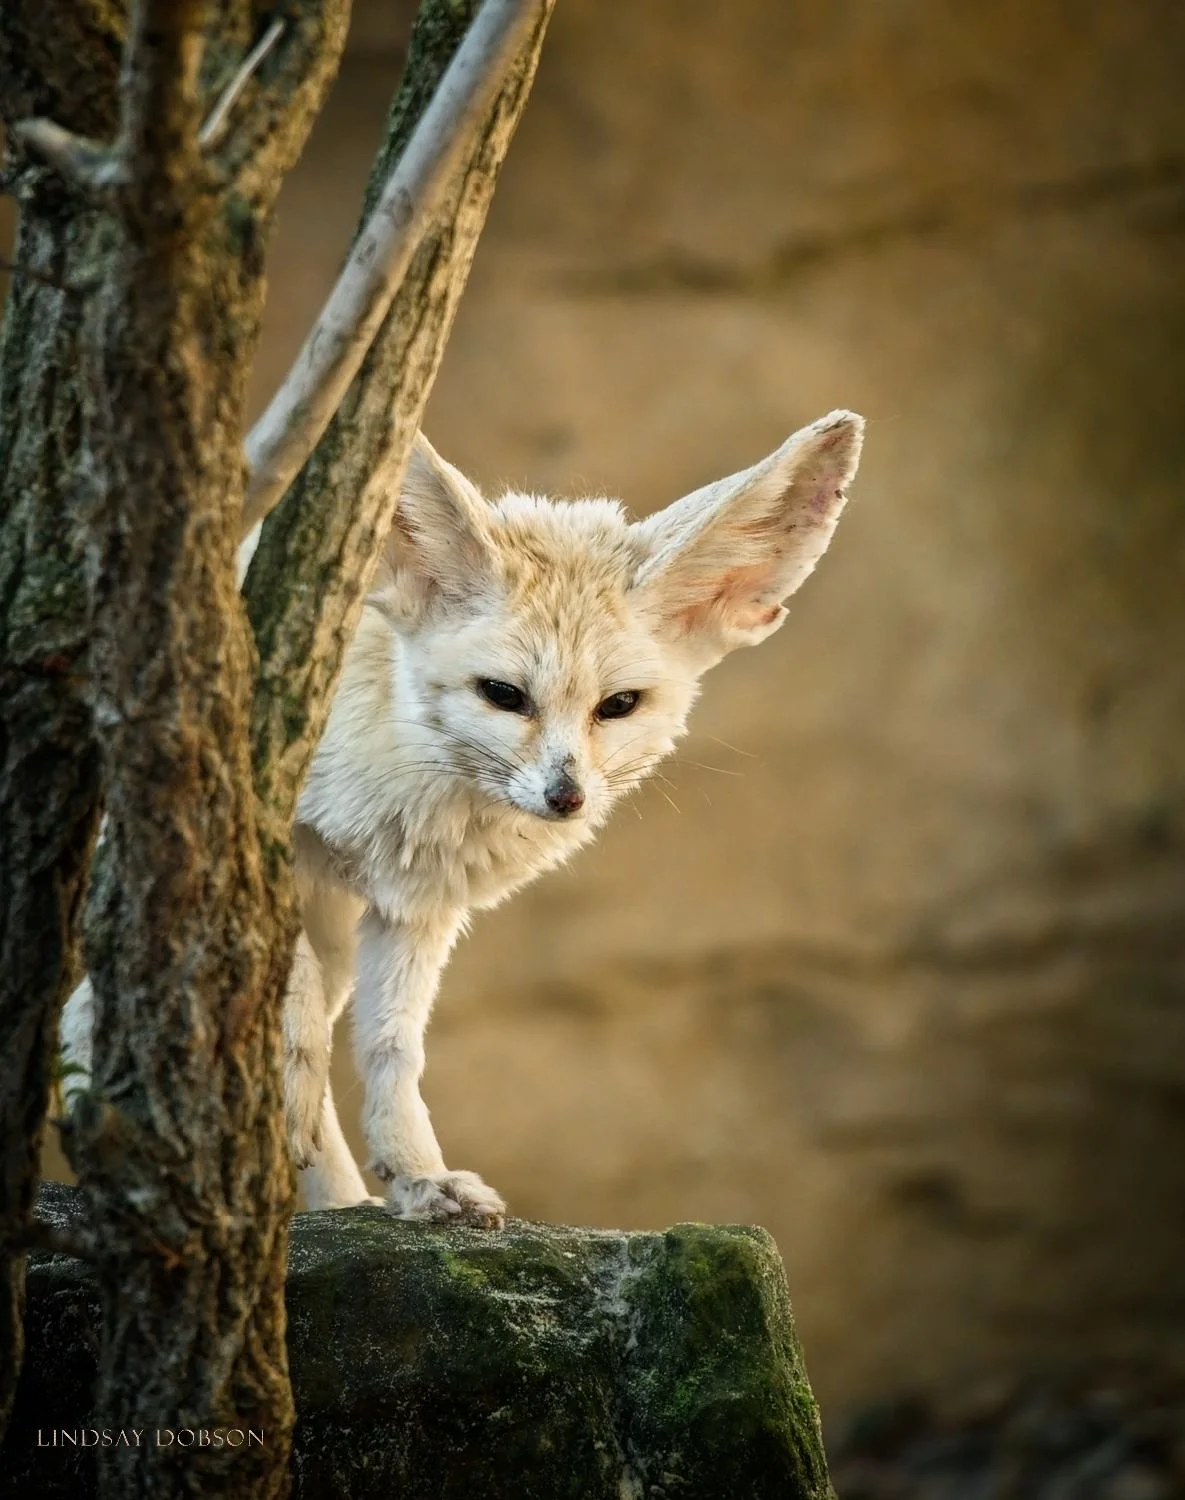
We can’t do anything about what’s behind the animals. Sometimes we can move our vantage point somewhat and we should always give this a try. But much of the time we just have to put up with some clutter in the scene. This can be minimised by shooting at a long focal length and using a wider aperture setting. Long focal lengths help to ‘compress’ the background. This simply means that background elements will appear to be brought further forward and therefore they will be much larger. And hence less busy. I do this all the time on my outdoor family portrait sessions.
The next tool at your disposal in decluttering a zoo photograph is to crop your images carefully when you process them. It’s quite likely your camera will have plenty of resolution so don’t worry about cropping up to 30% away. This can be one of the best methods for elevating a photo and focusing on your subject. It can help to shoot at a slightly wider angle to begin with while you’re learning about cropping and composition.
Photographing Animal Behaviour in Zoos
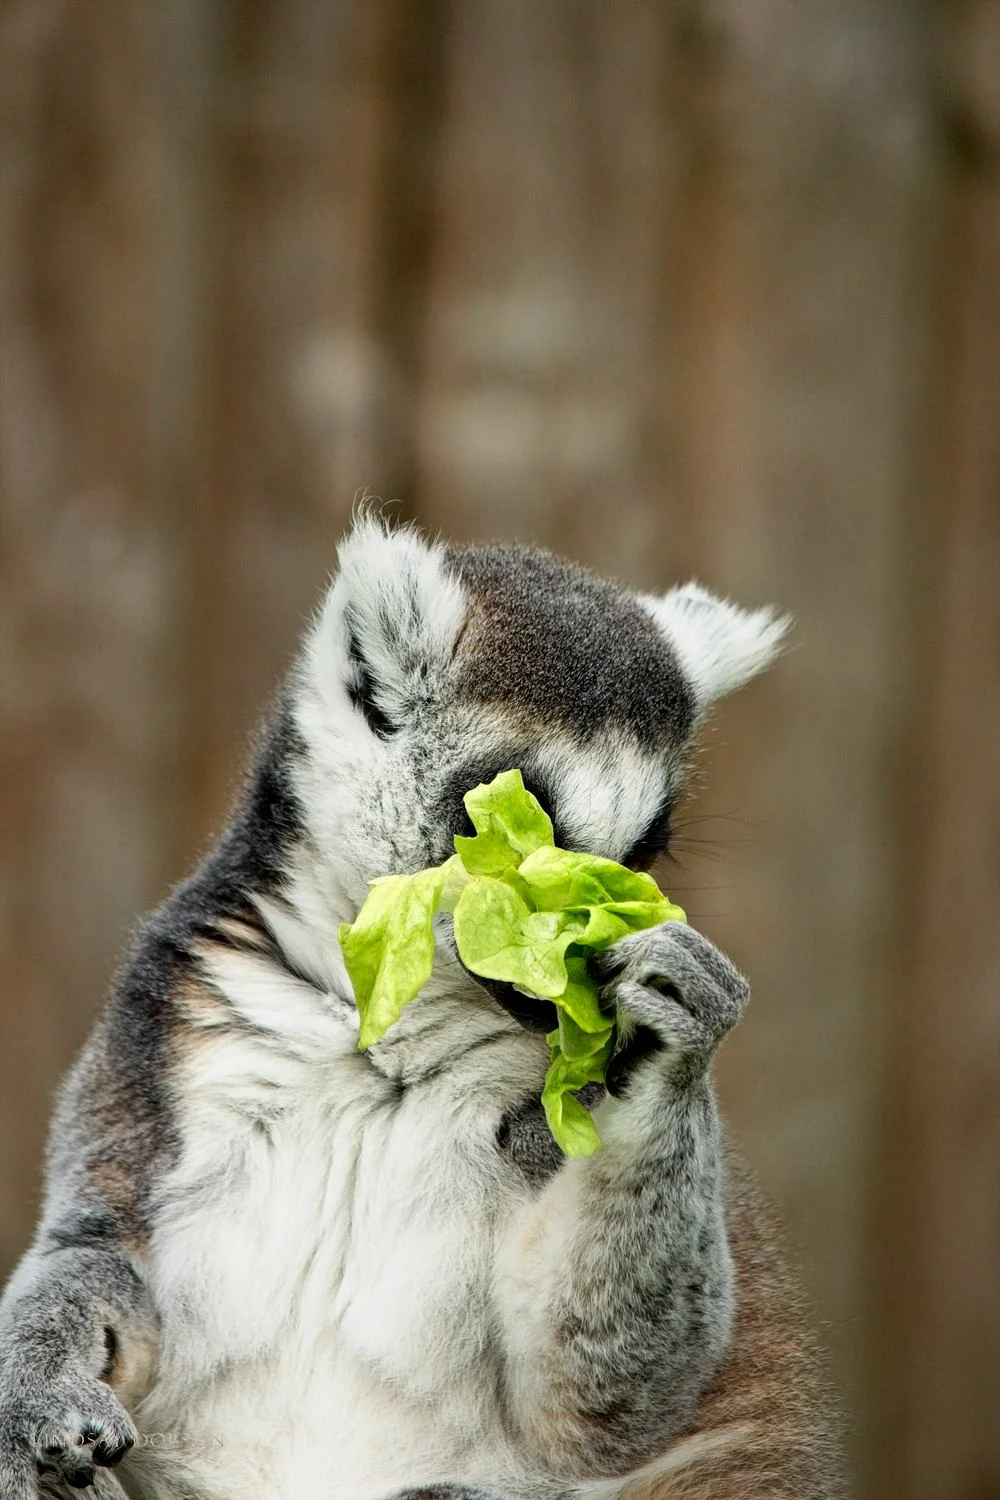
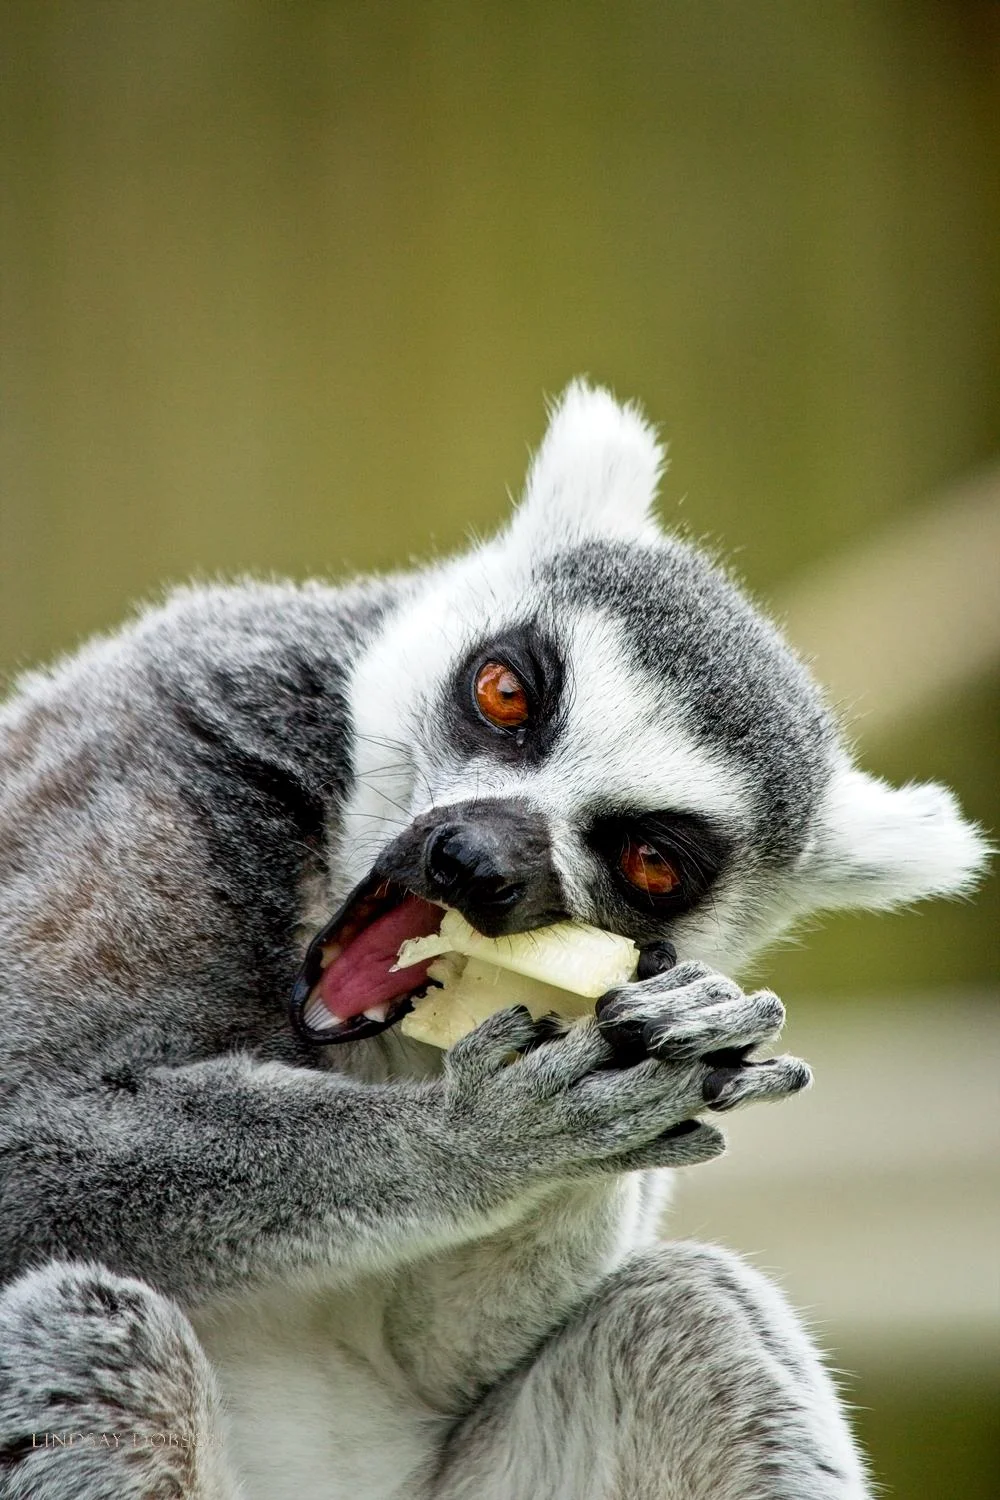
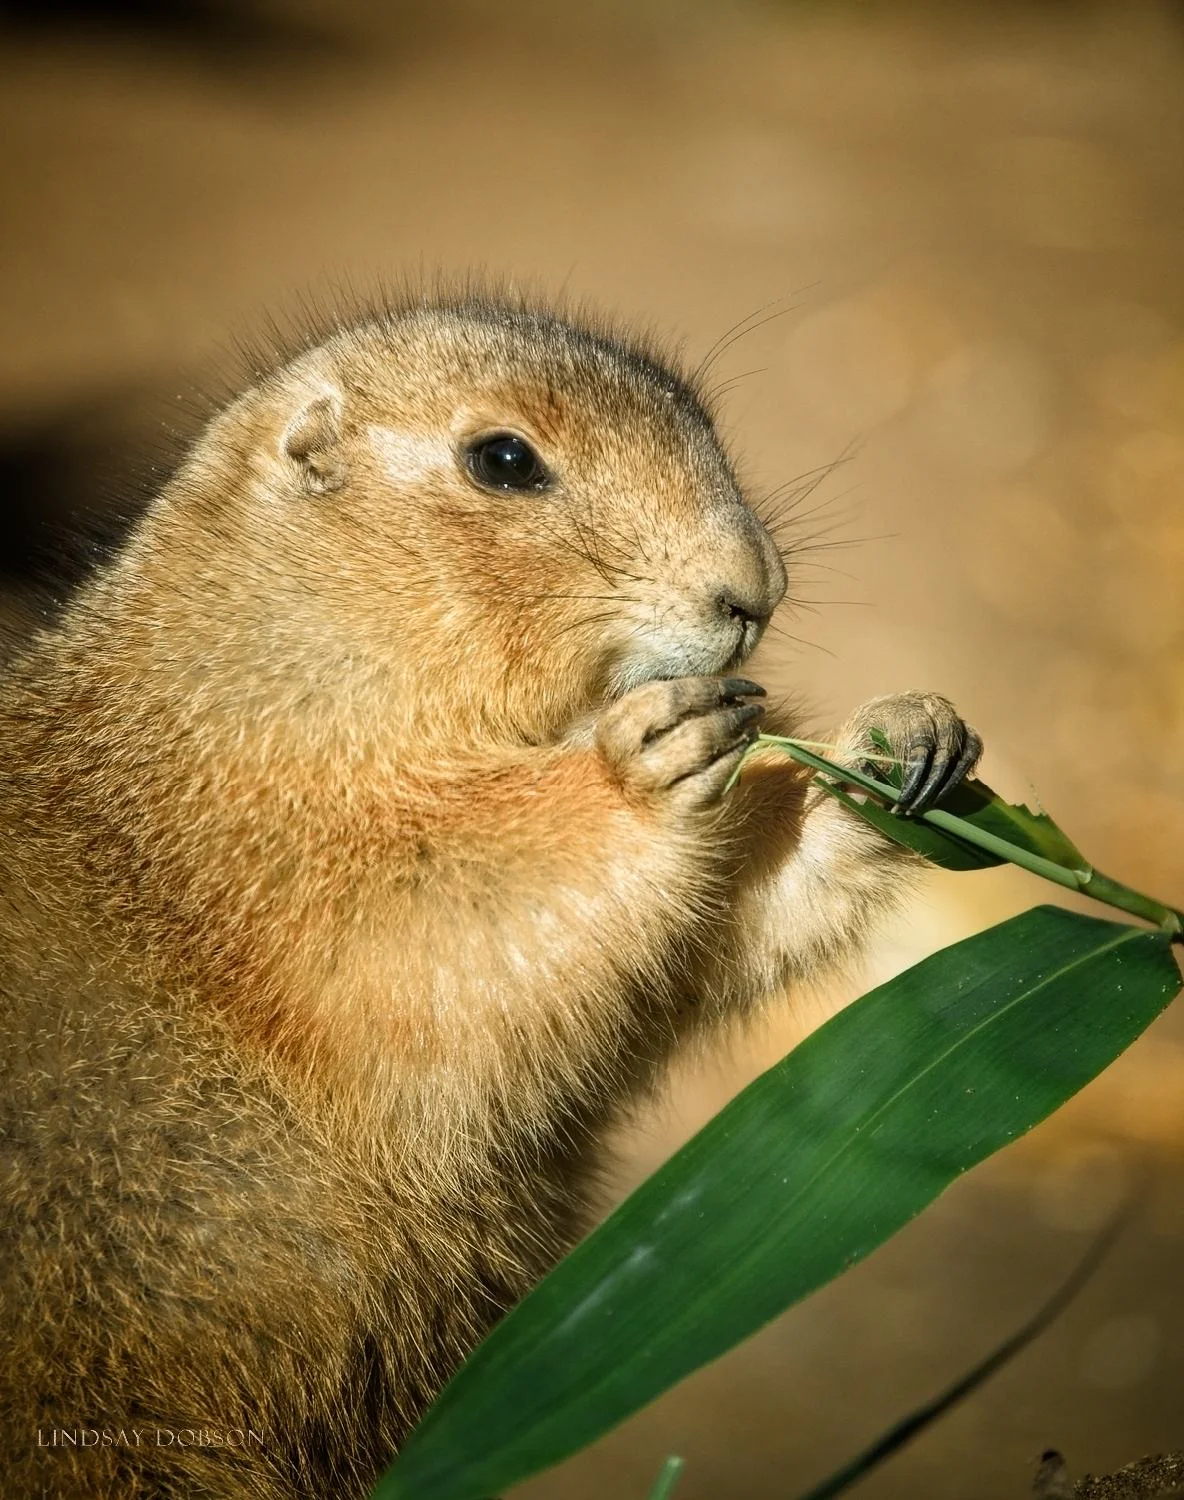
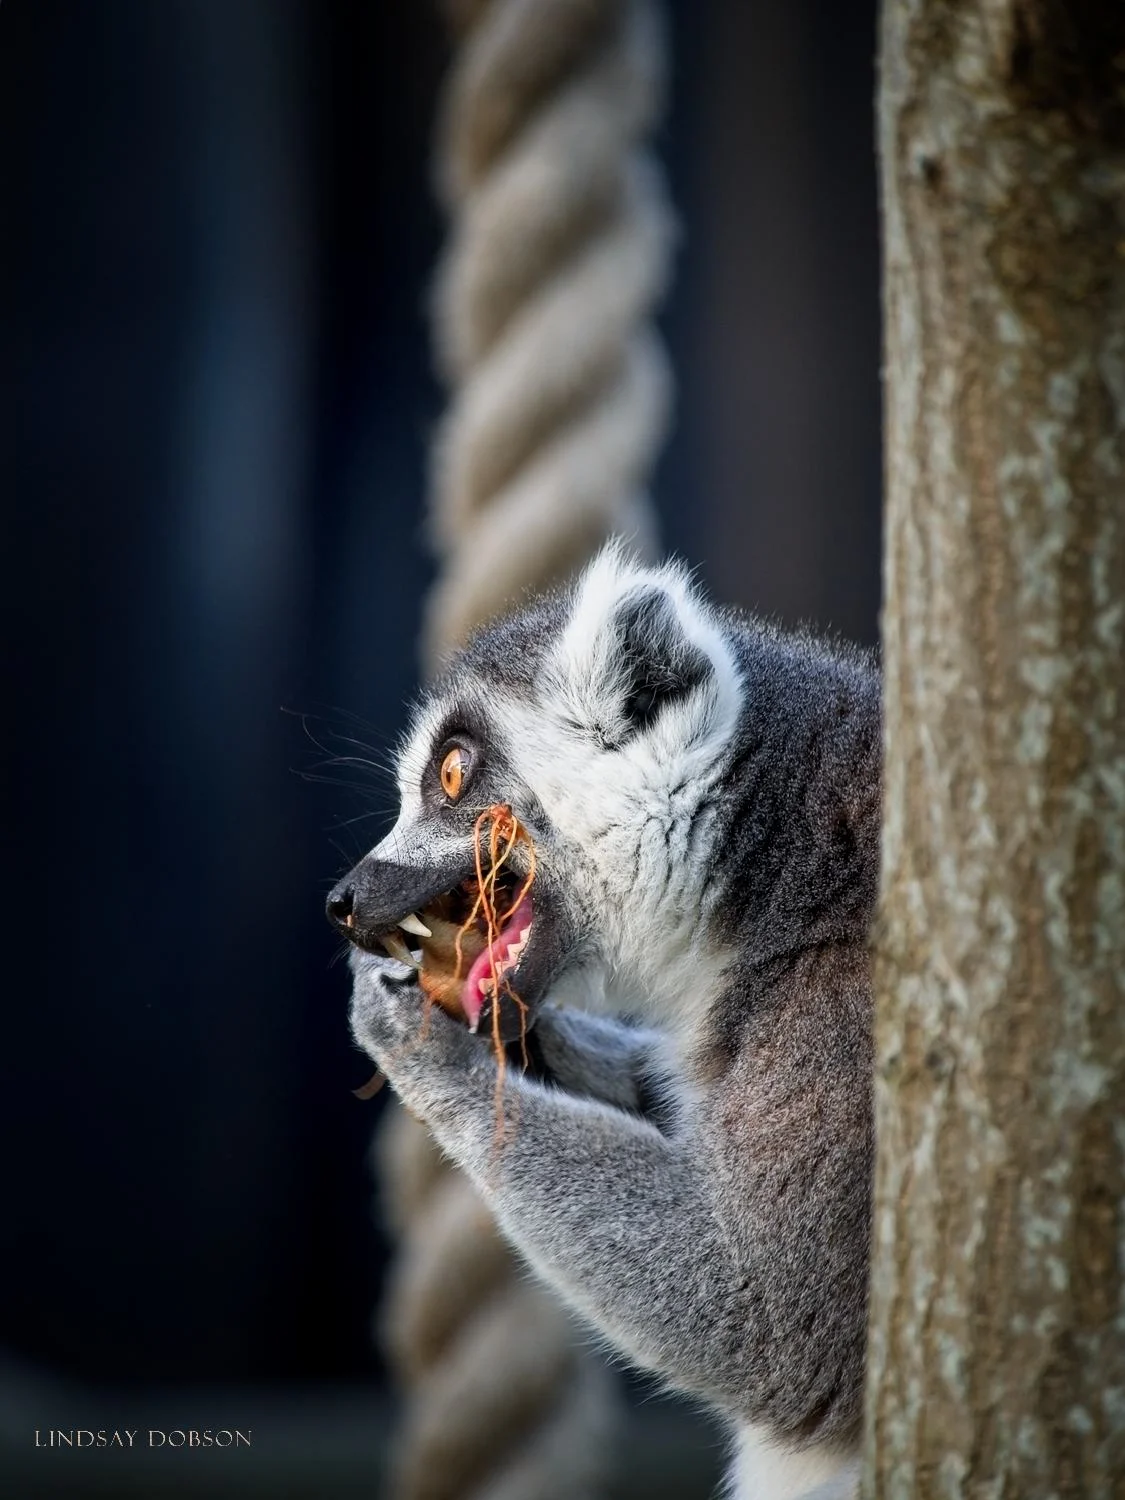
Inexperienced photographers tend to come home with a bunch of mugshots. Please don’t even think of persisting with that, or I guarantee you’ll never be happy with your pictures. I know, there’s so much to think about when taking a photograph. It’s easy to overlook one of the most important parts of a pleasing image - the behaviour of our subjects. If we can catch an interesting character trait or cute moment then the picture is so much nicer. The same goes for when our subjects engage or interact with something, be it food, an object, or another animal. In other words try to get a picture of your subject ‘doing something’.
what to aim for
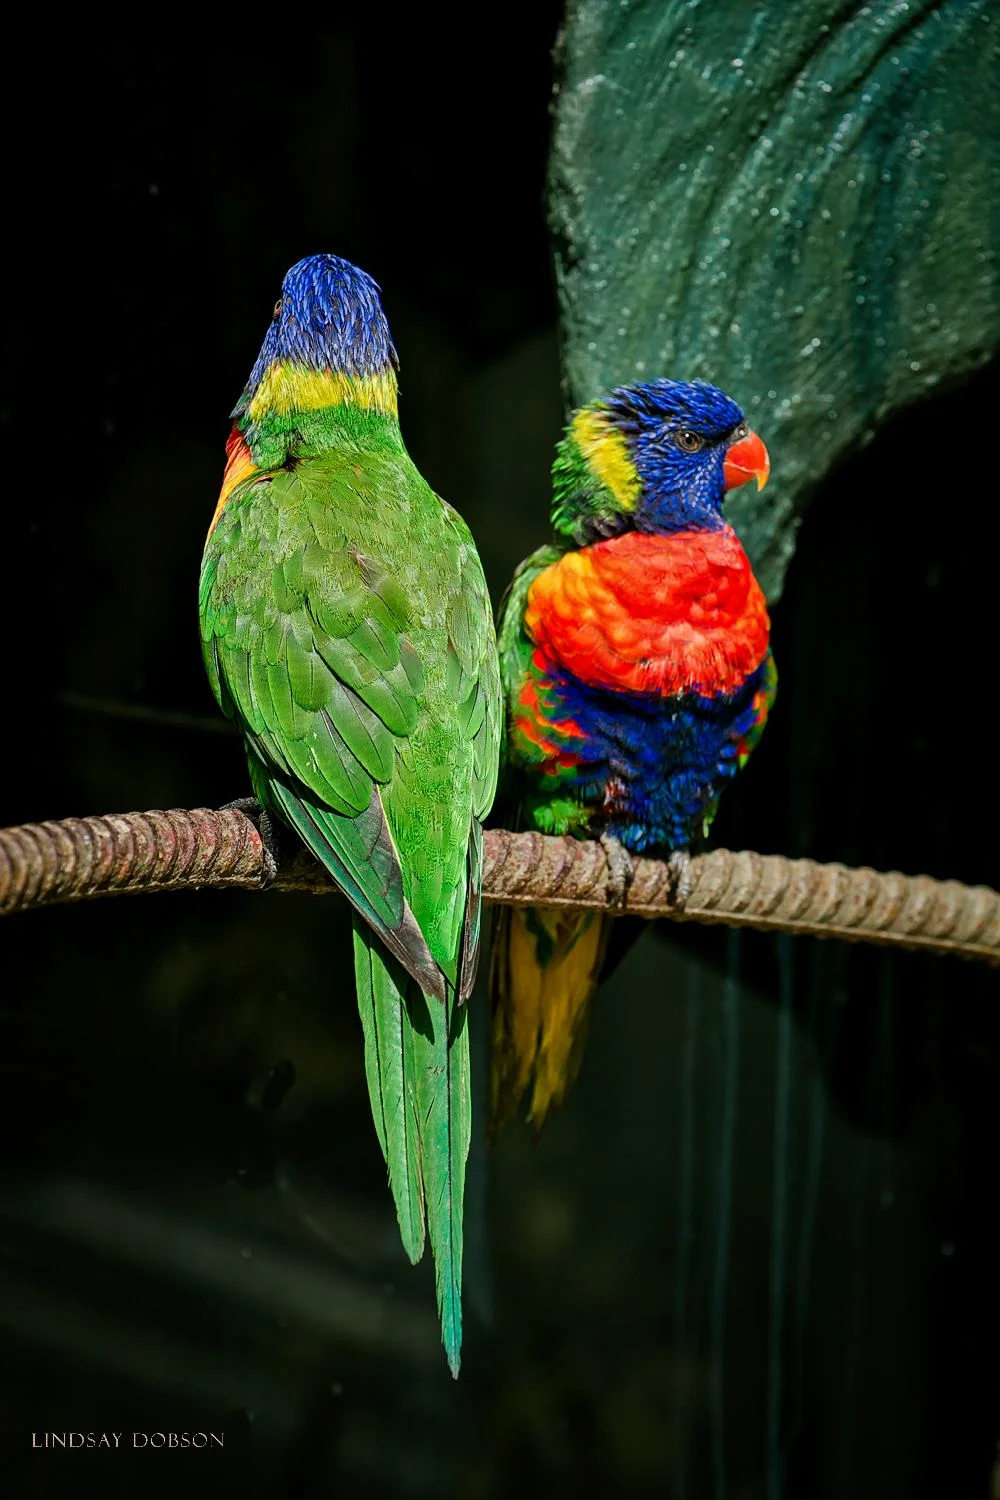
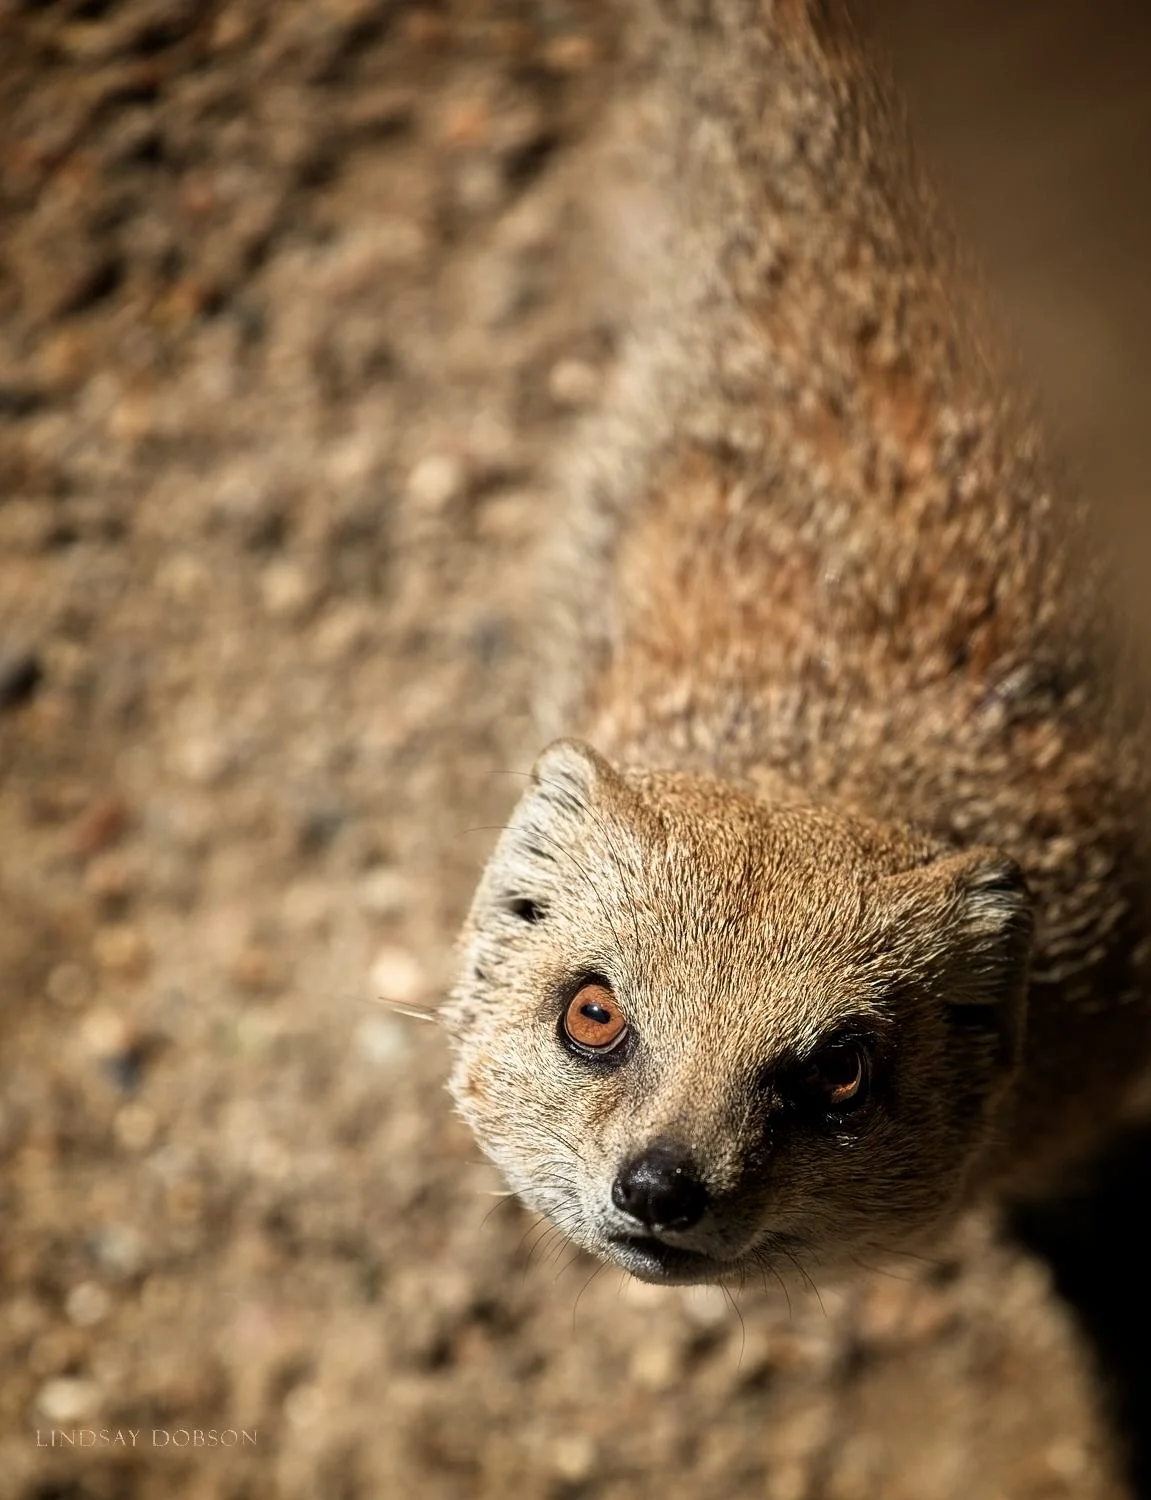
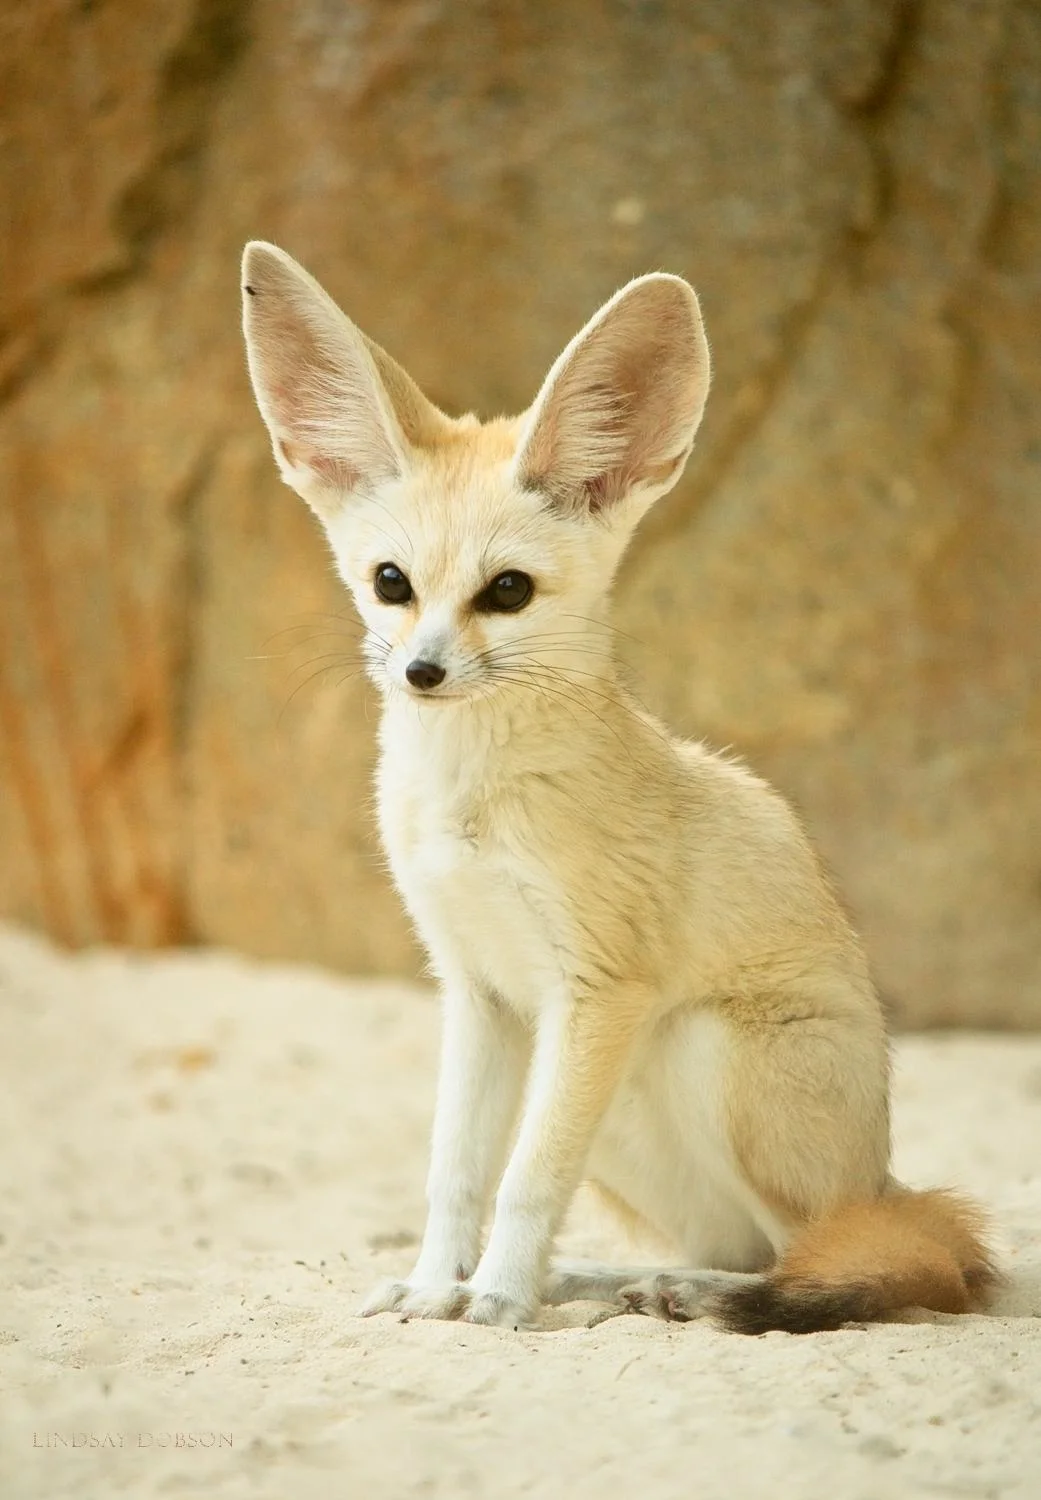
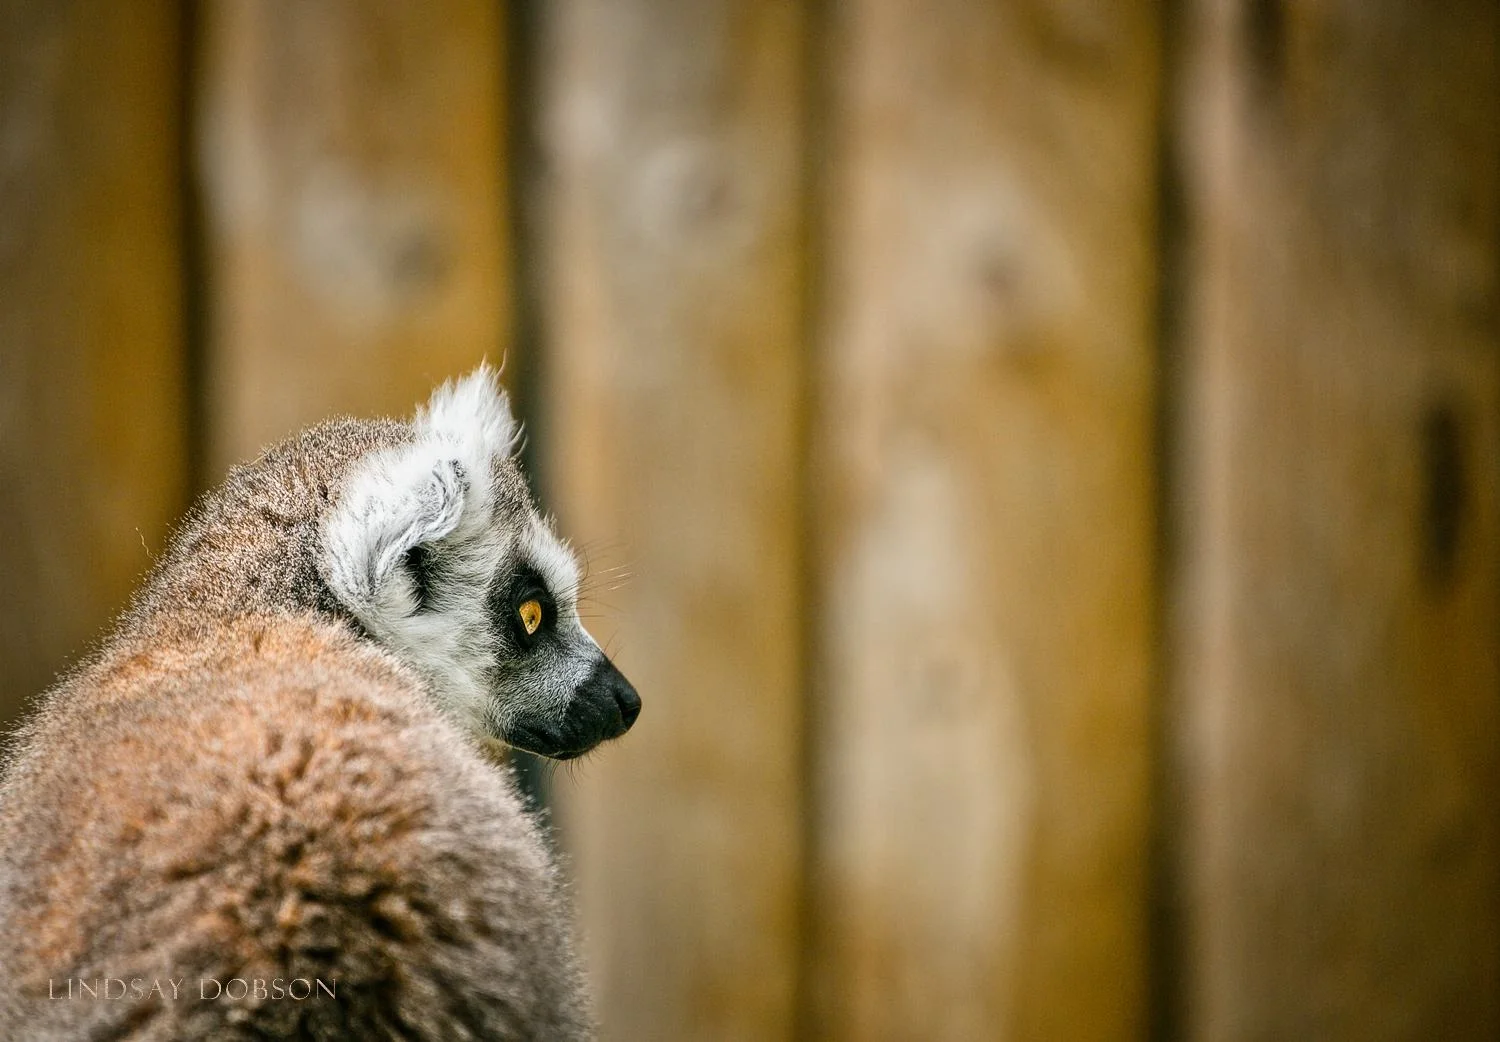
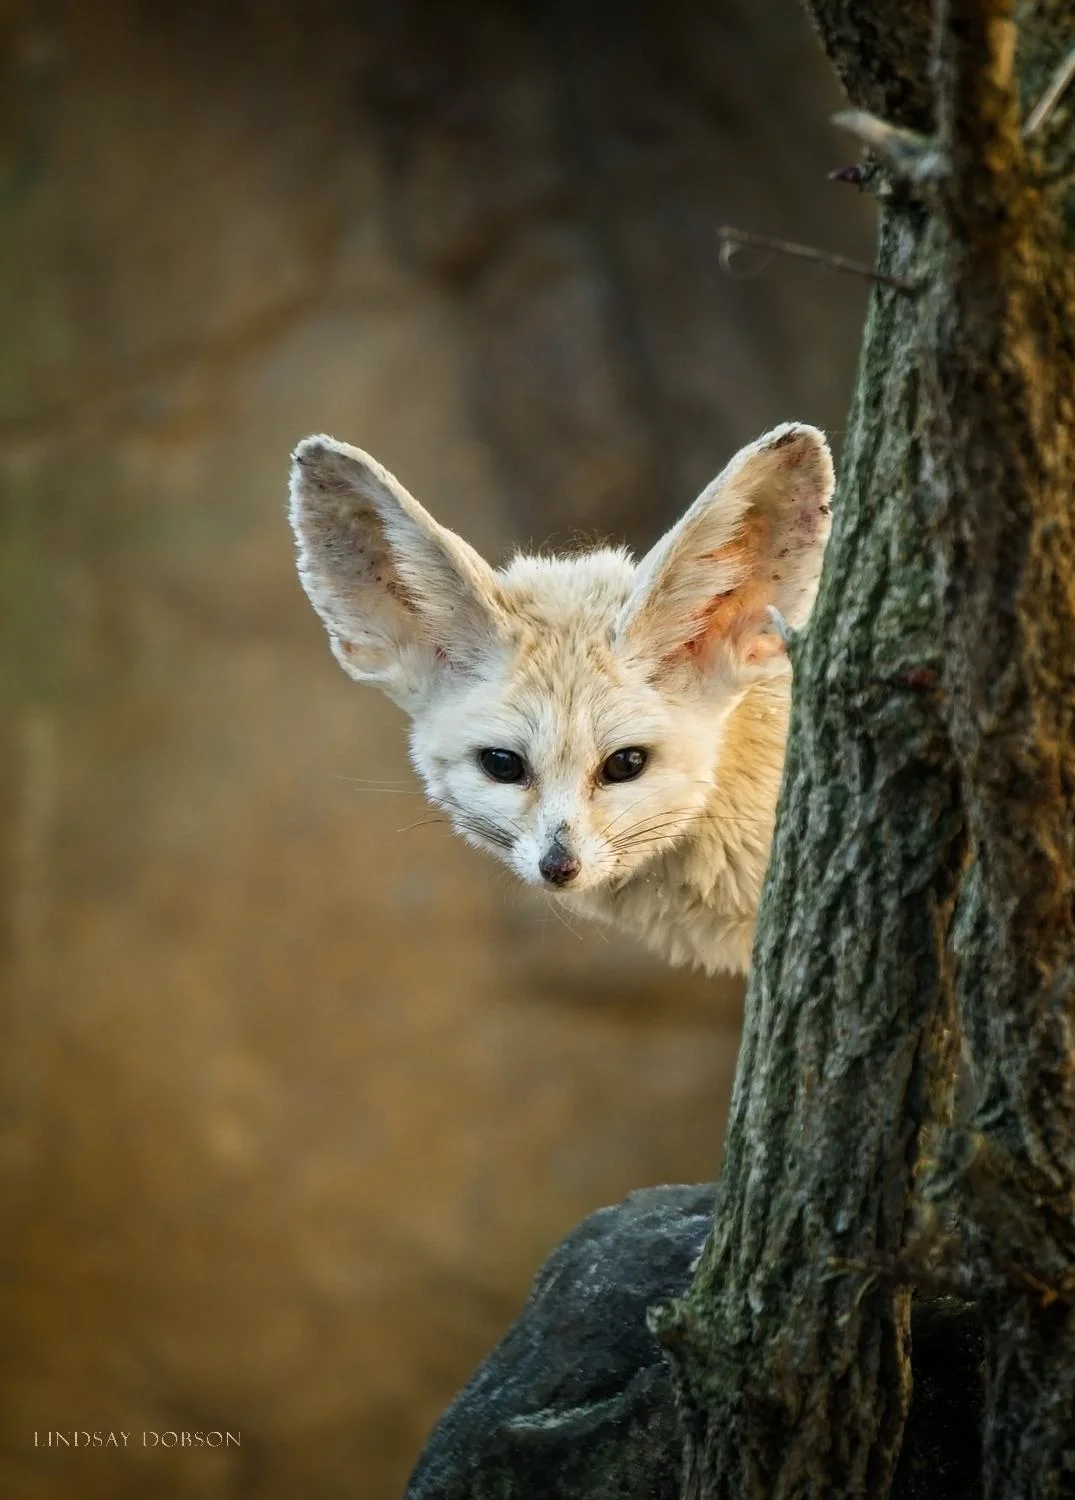
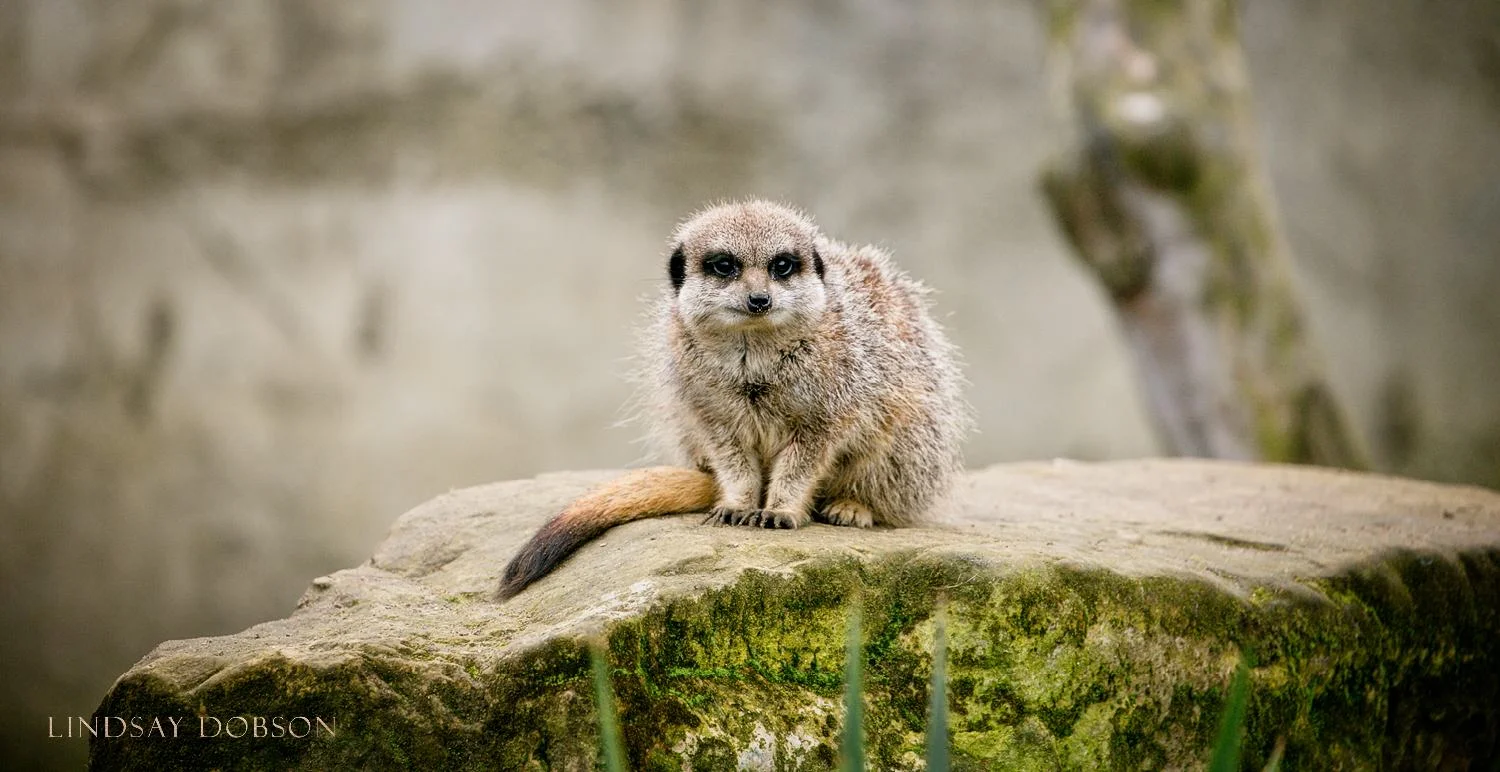
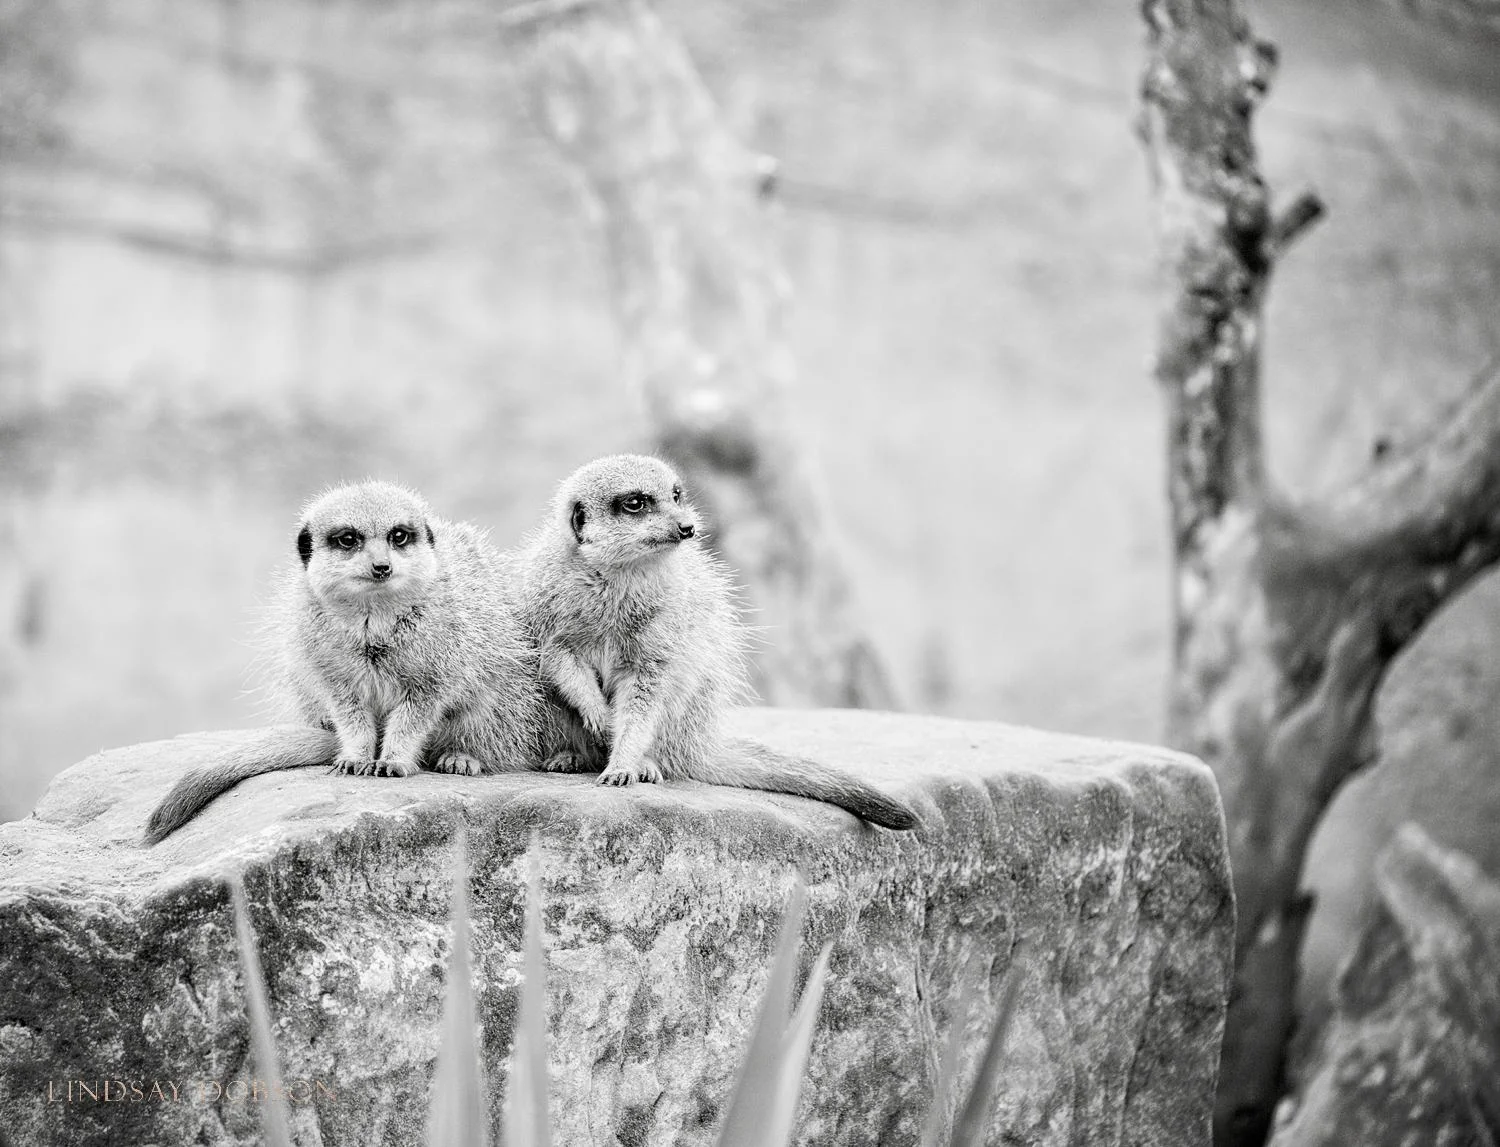
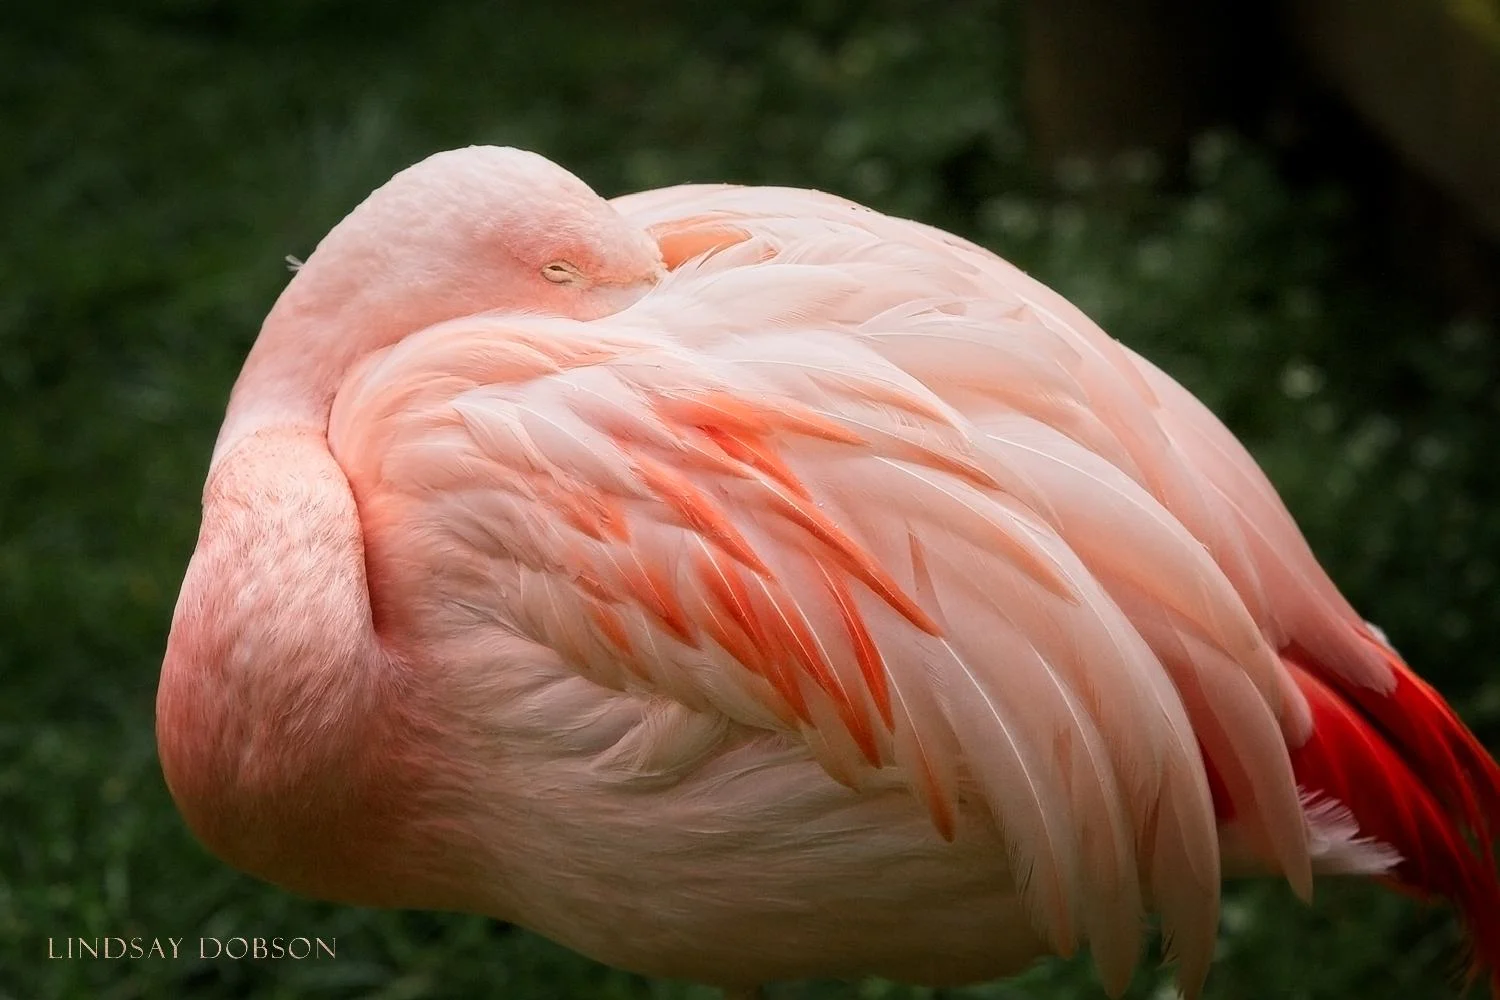
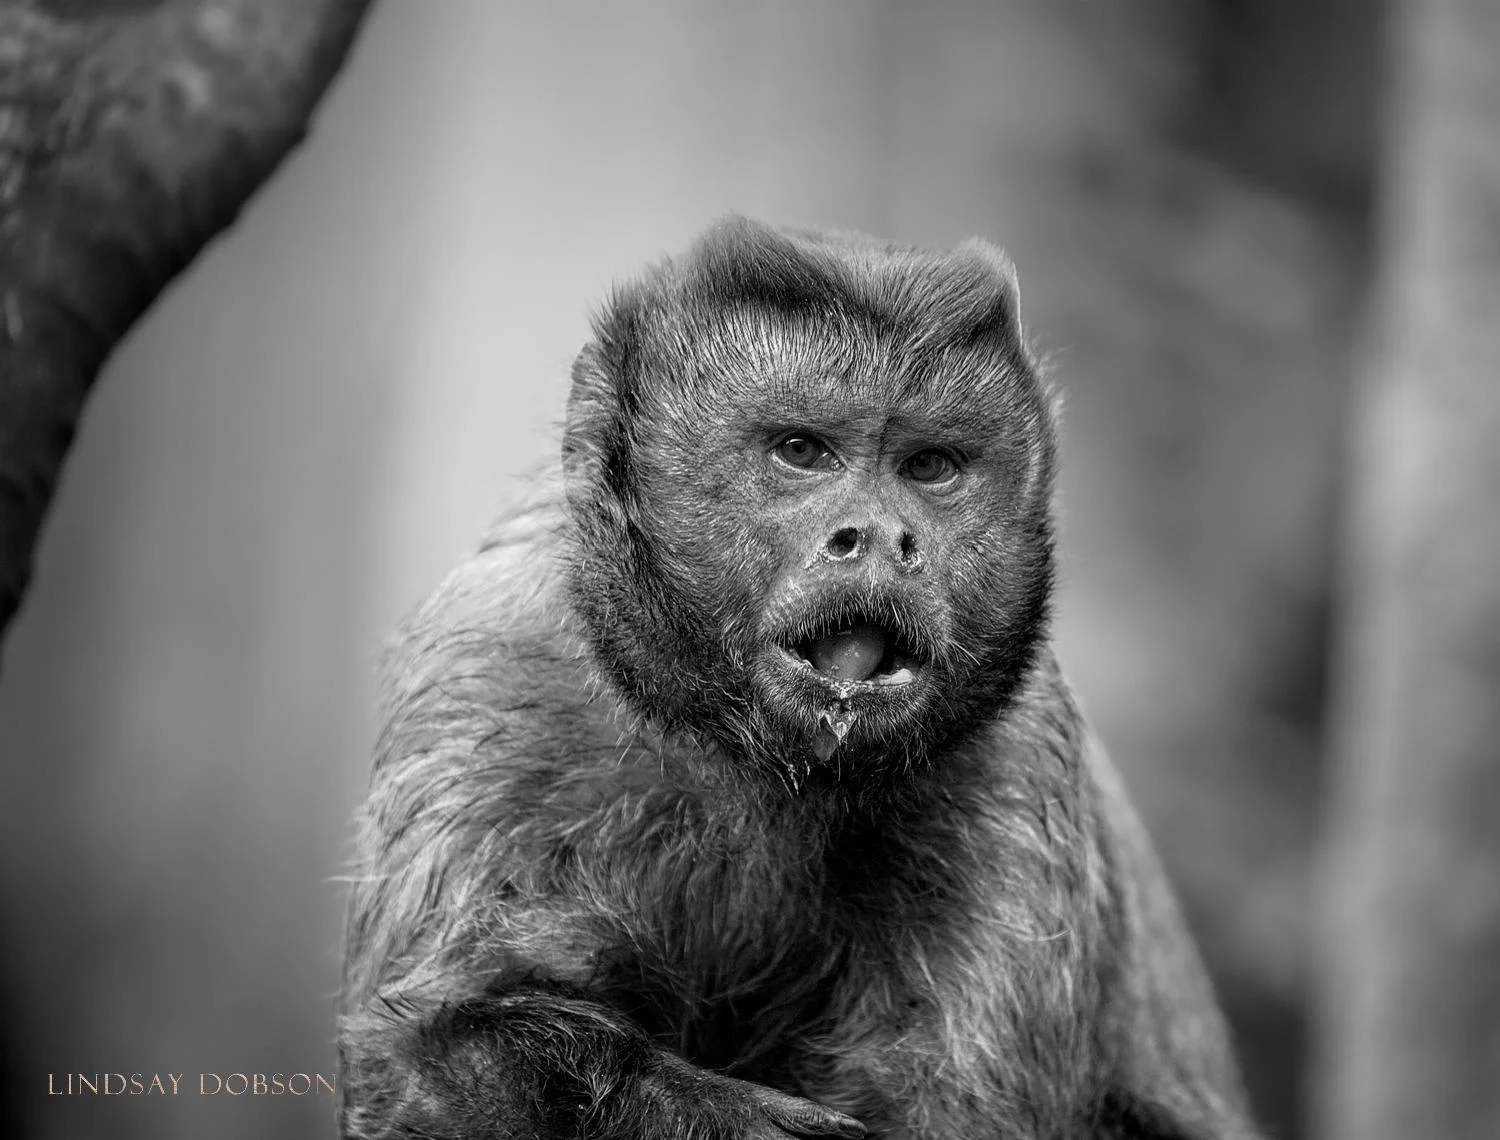
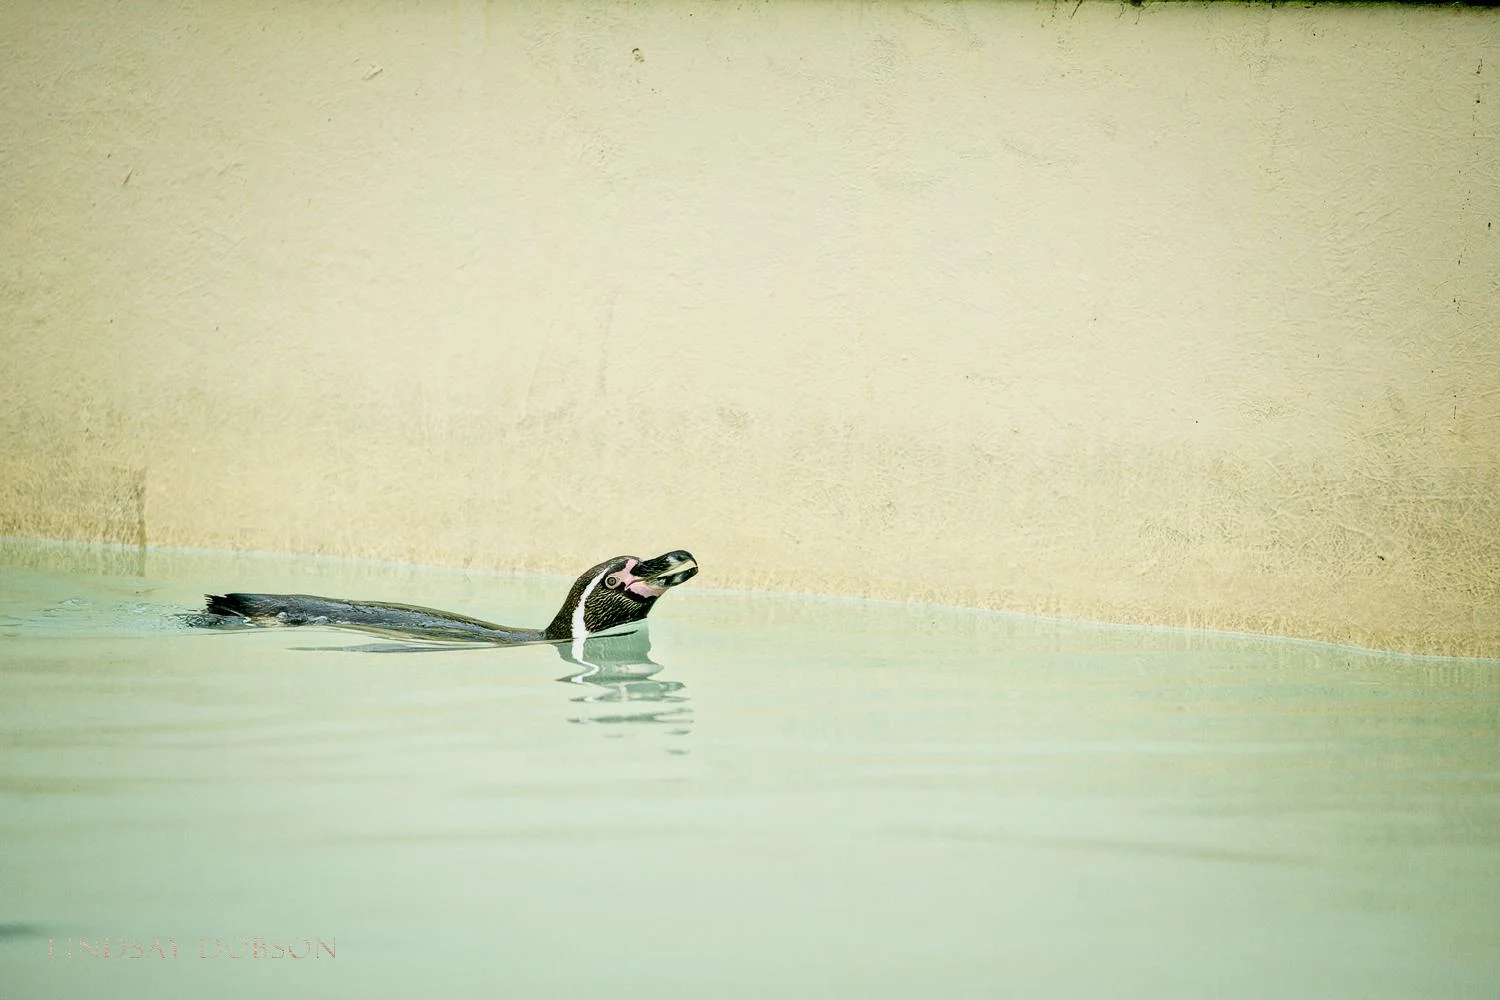
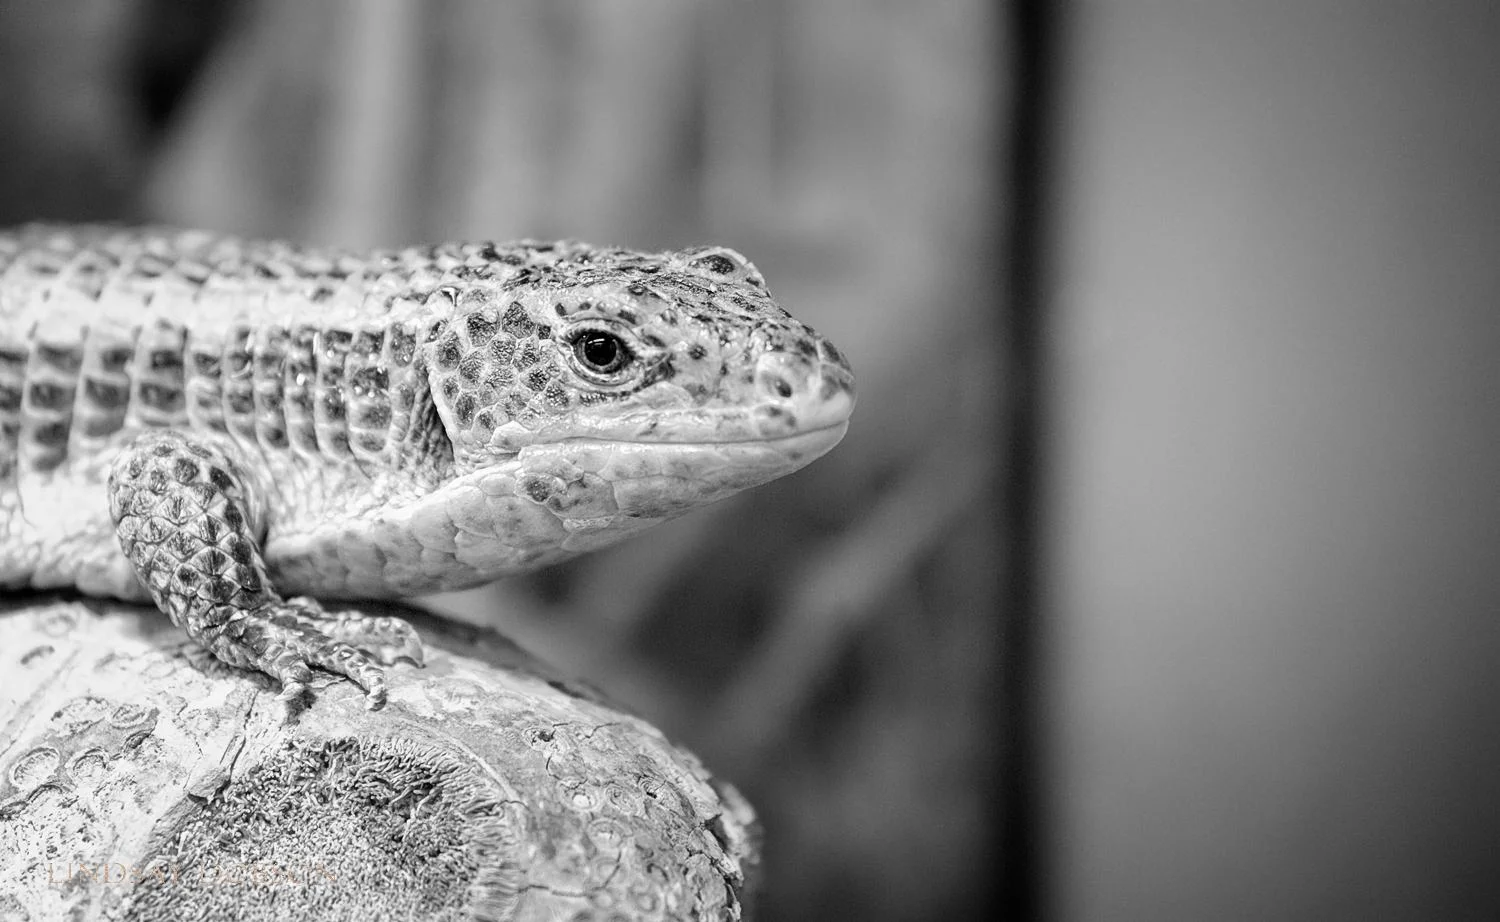
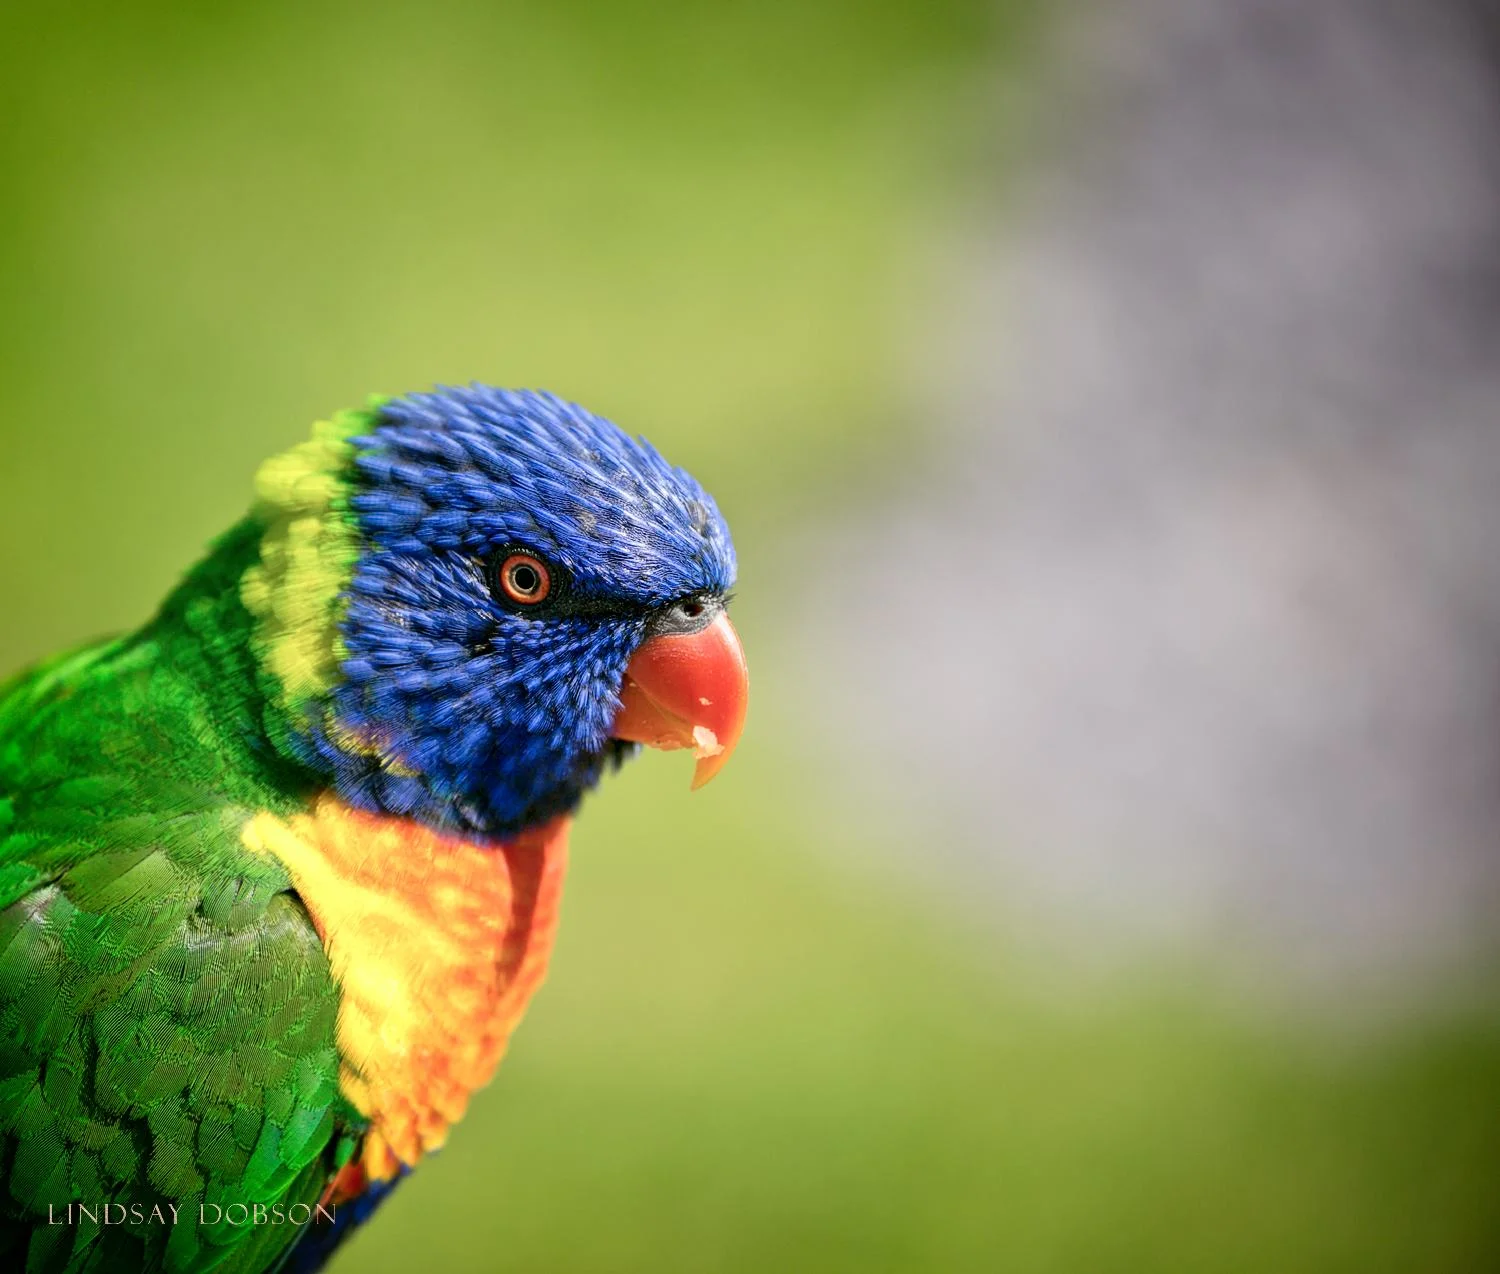
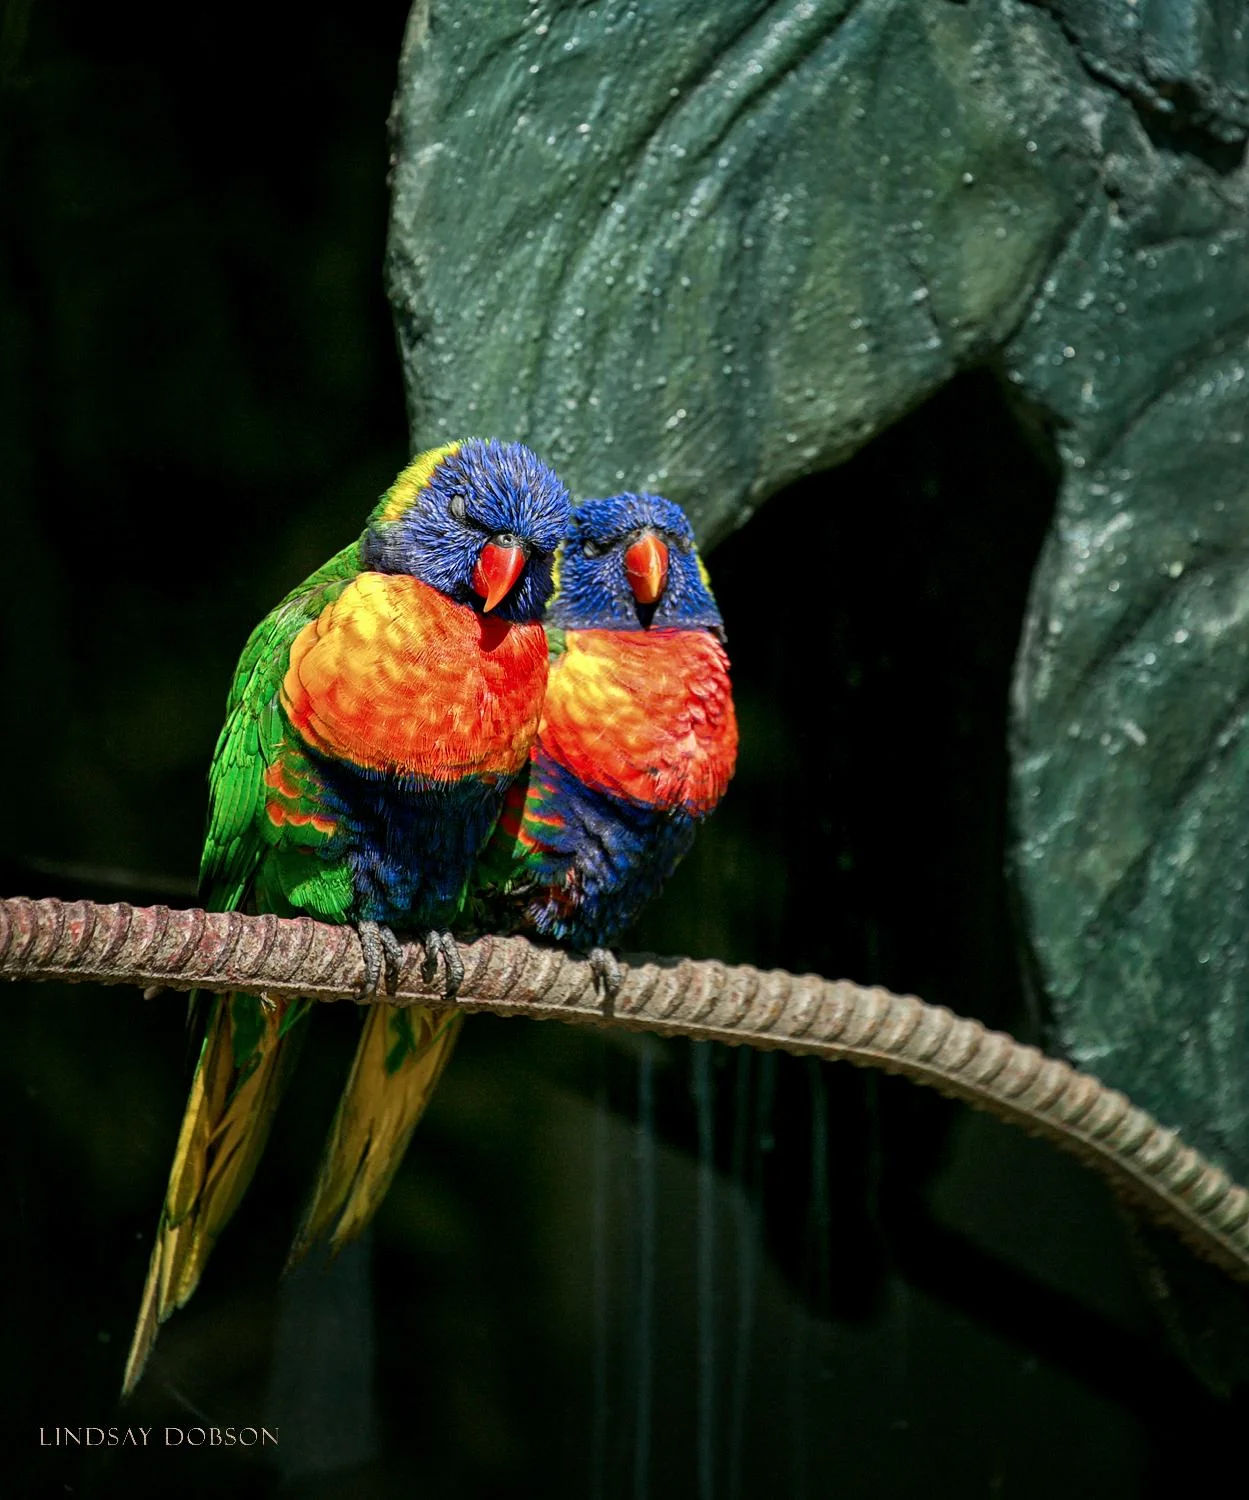
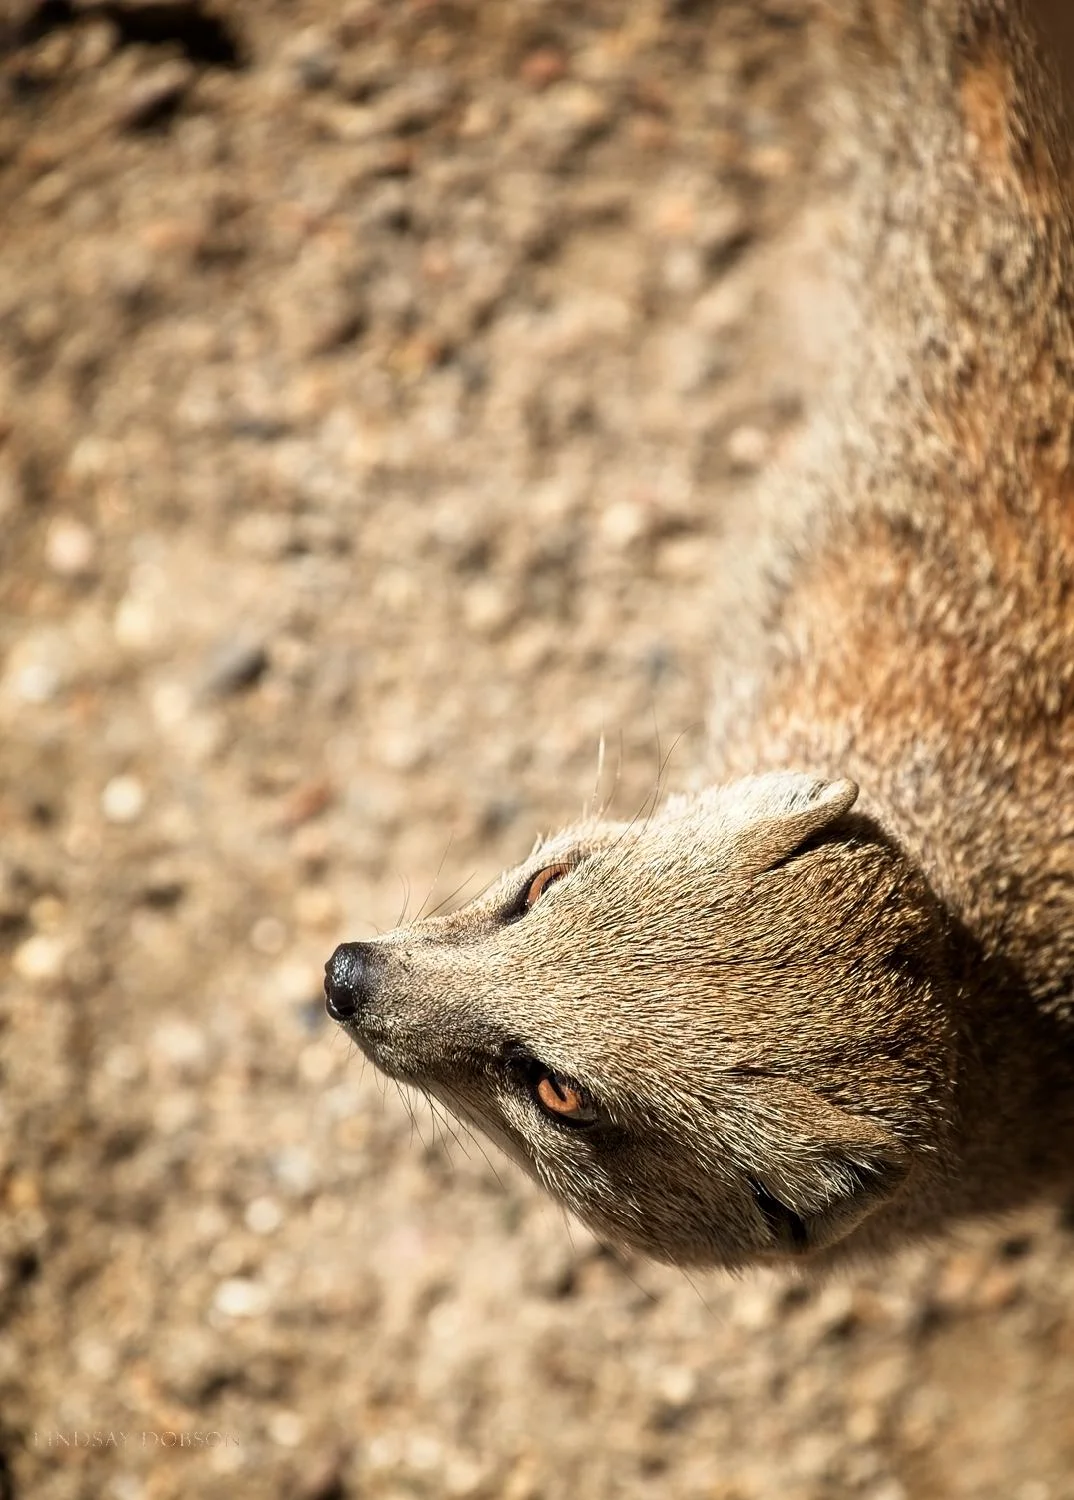
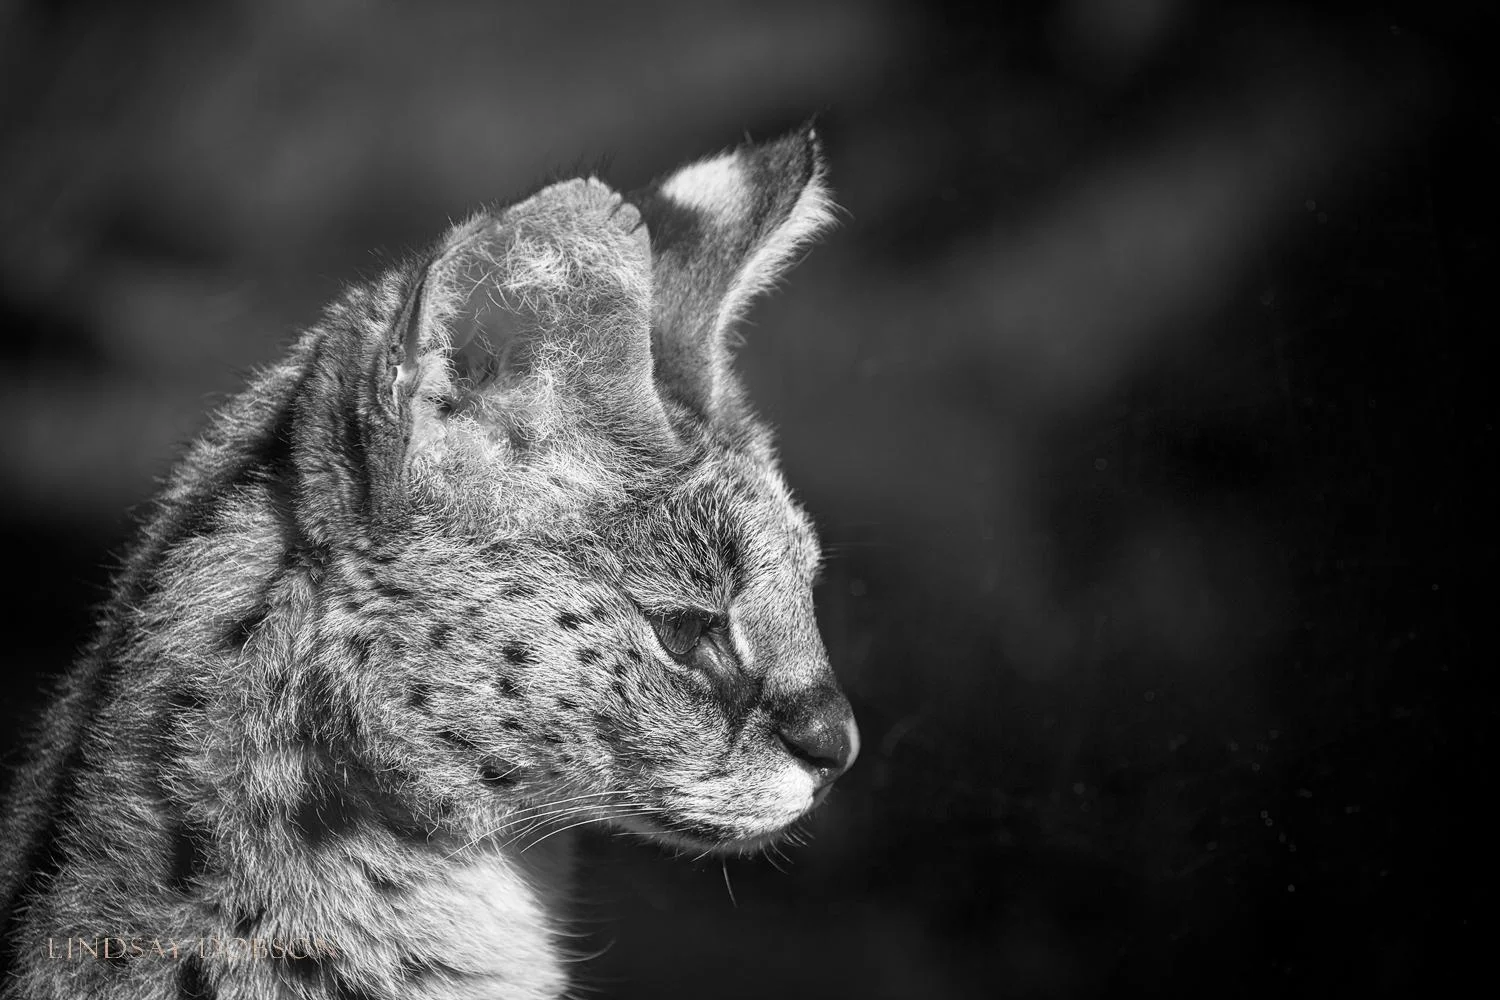
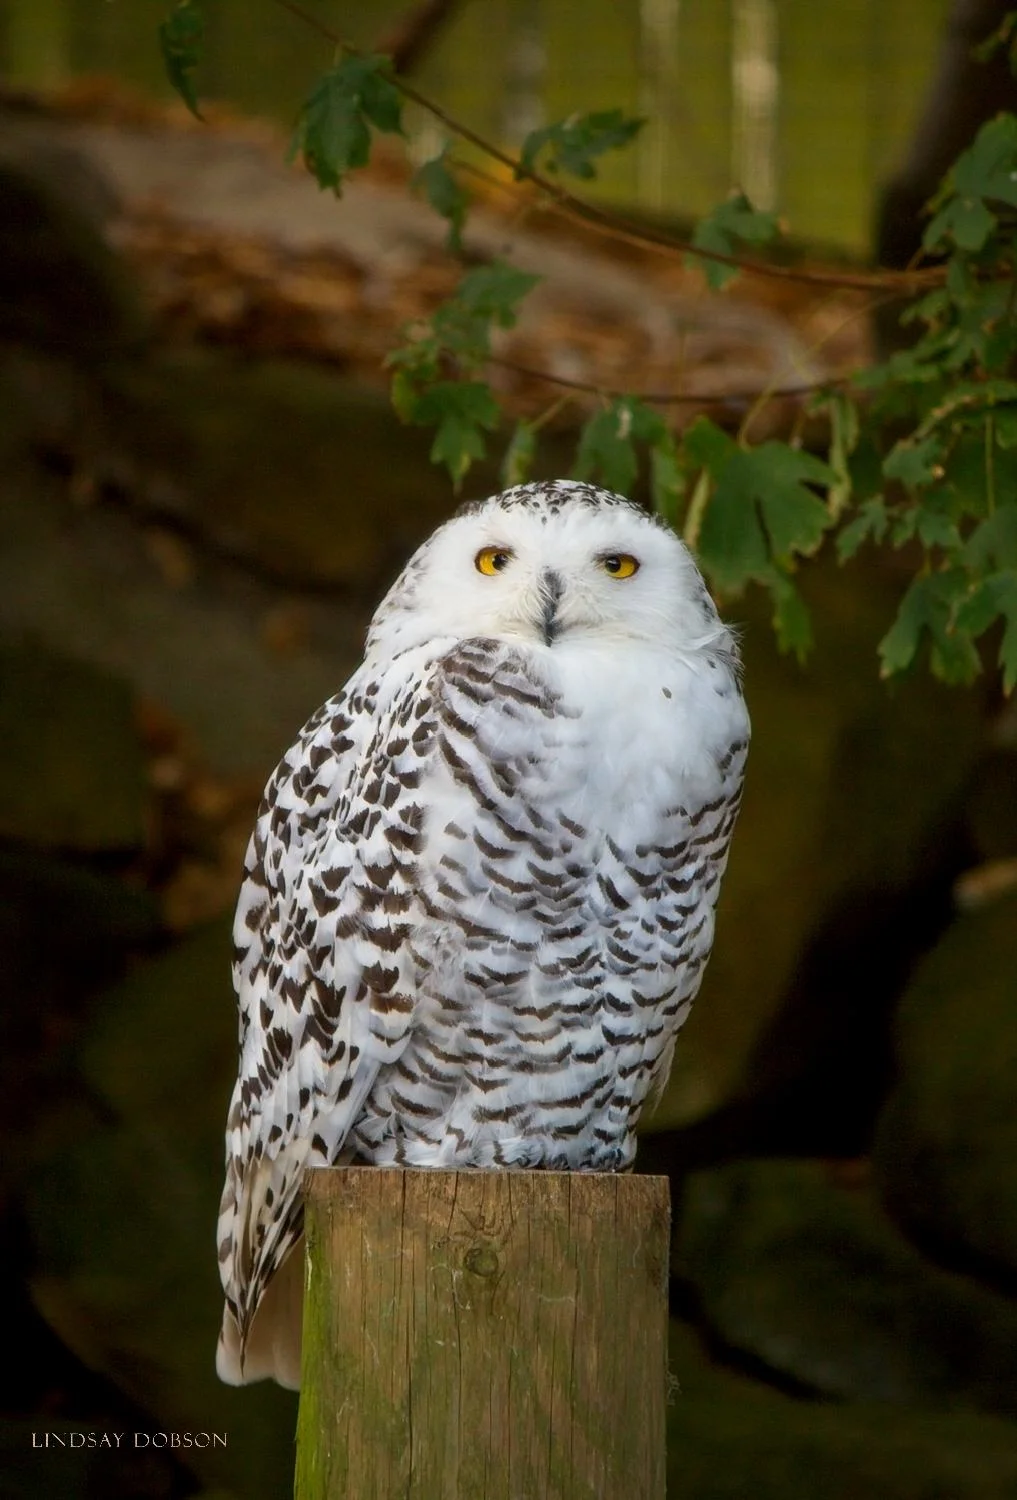
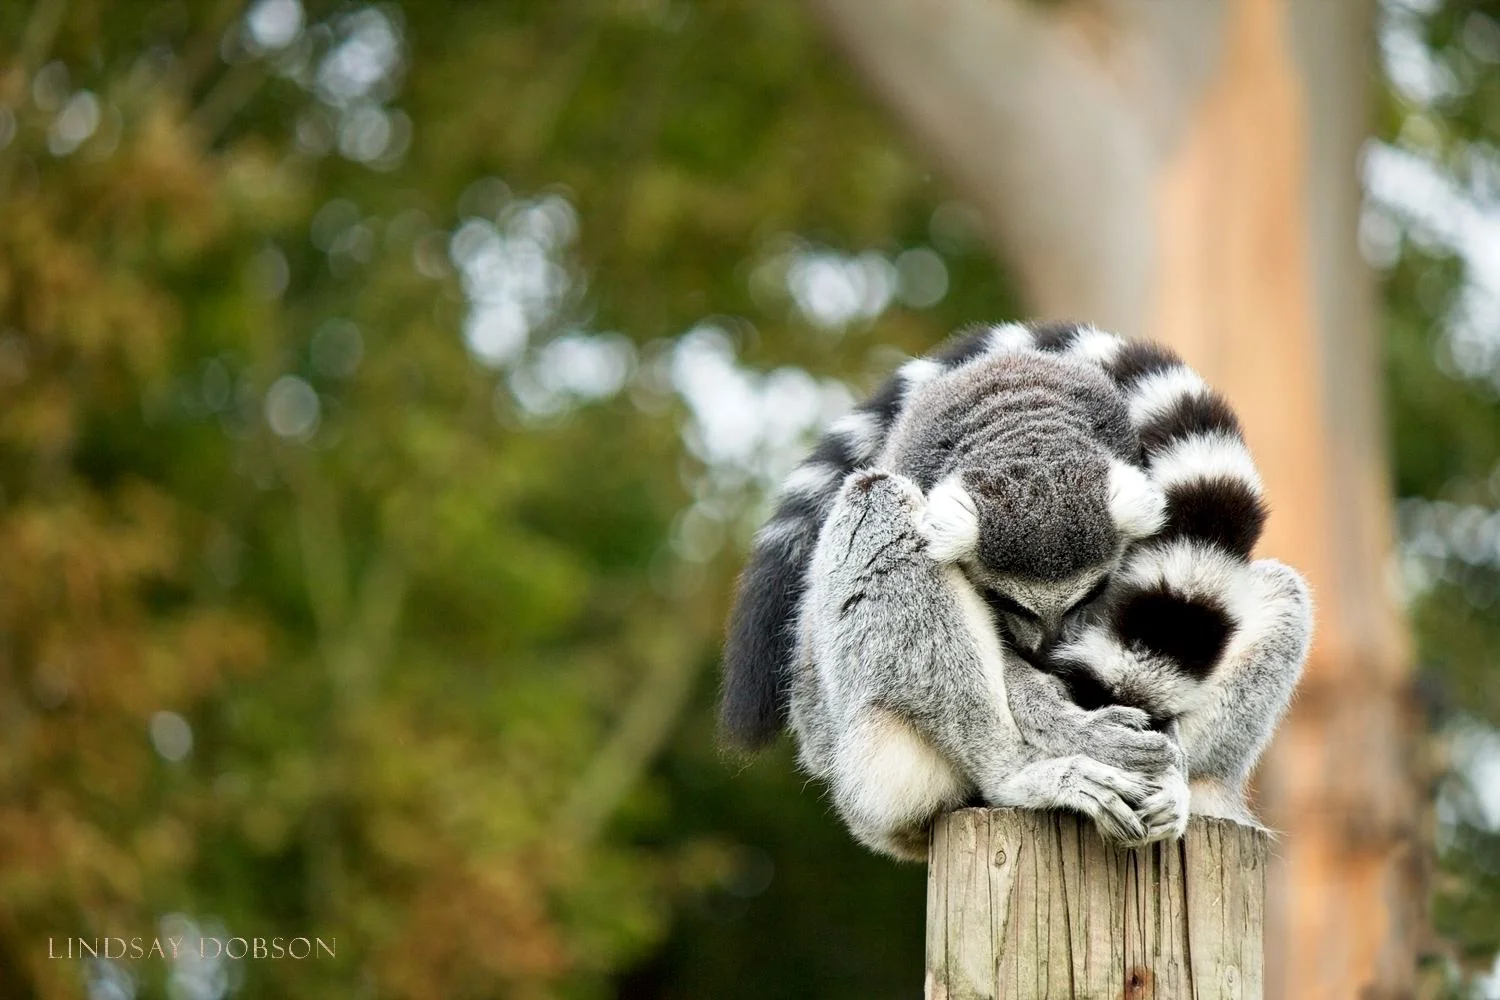
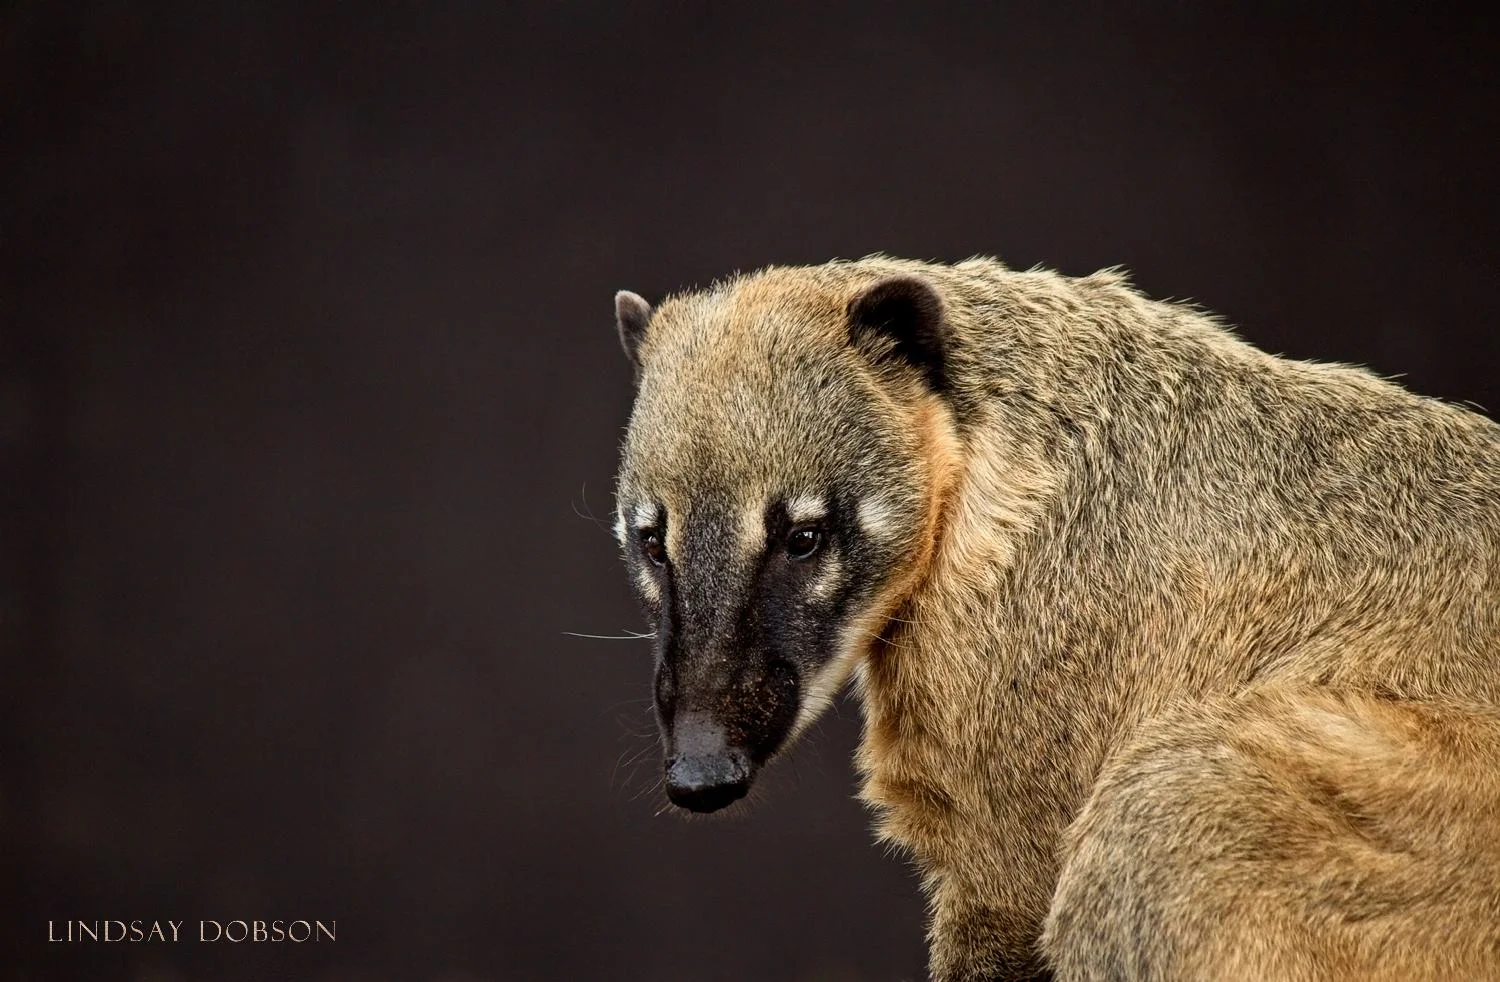
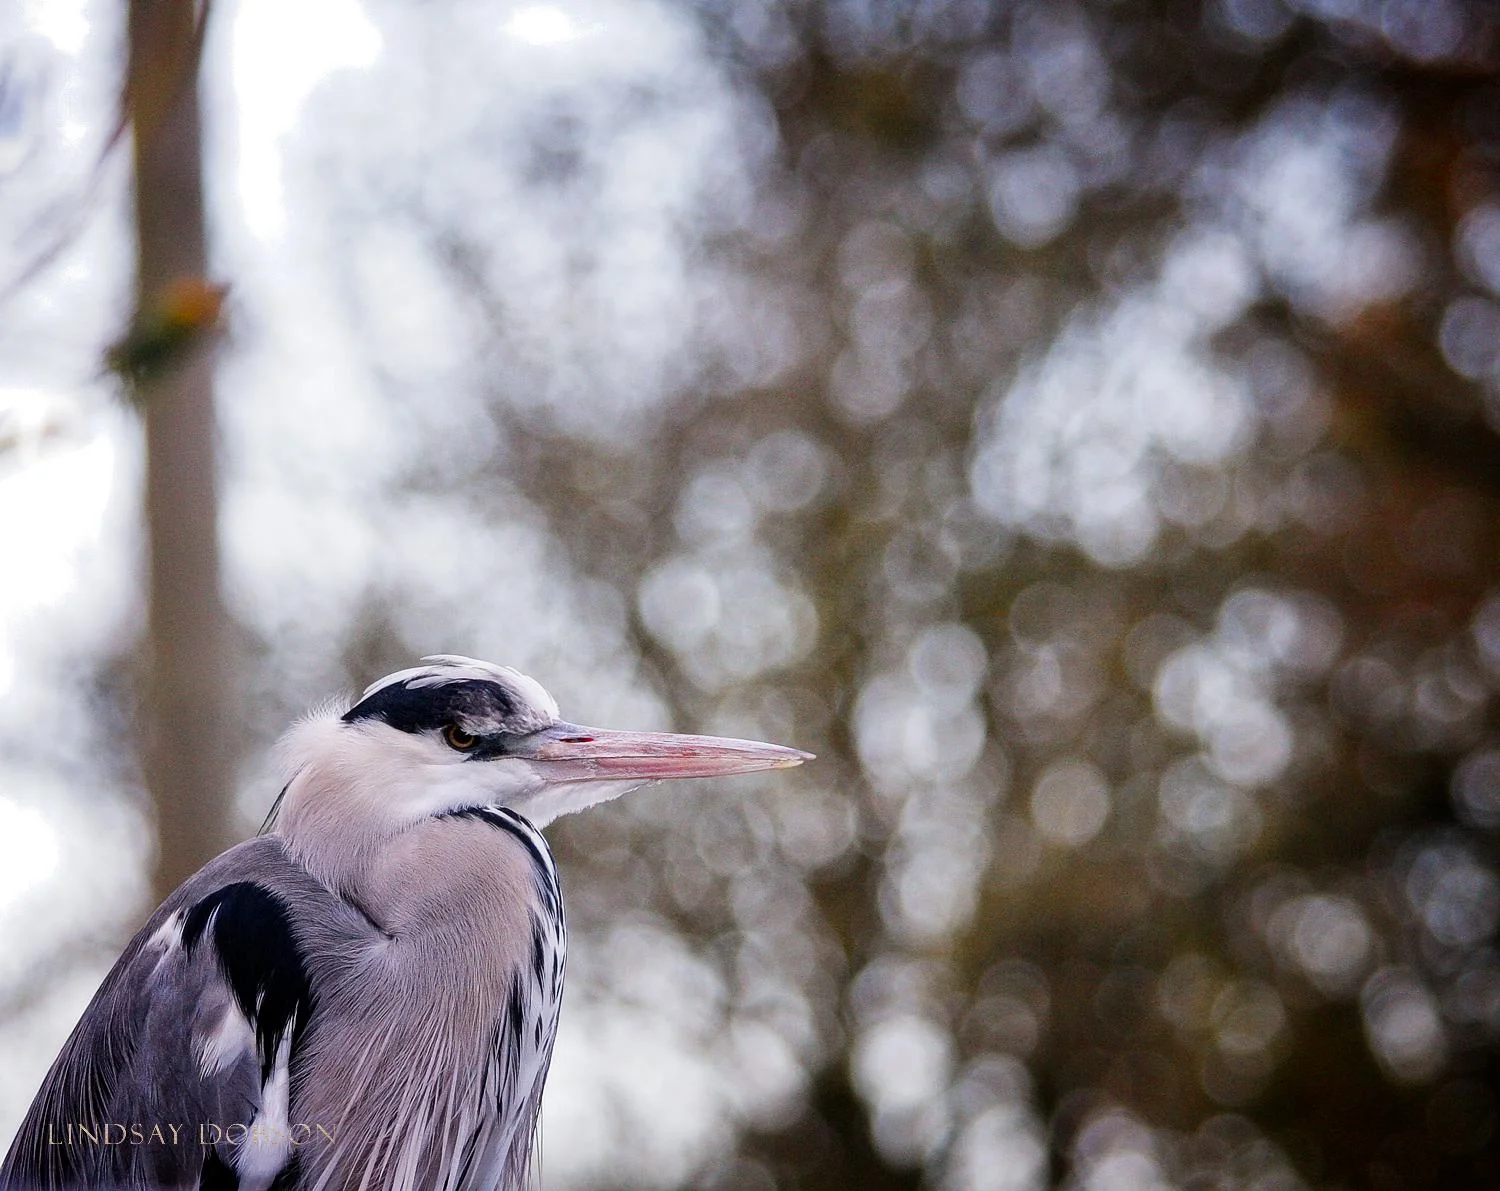
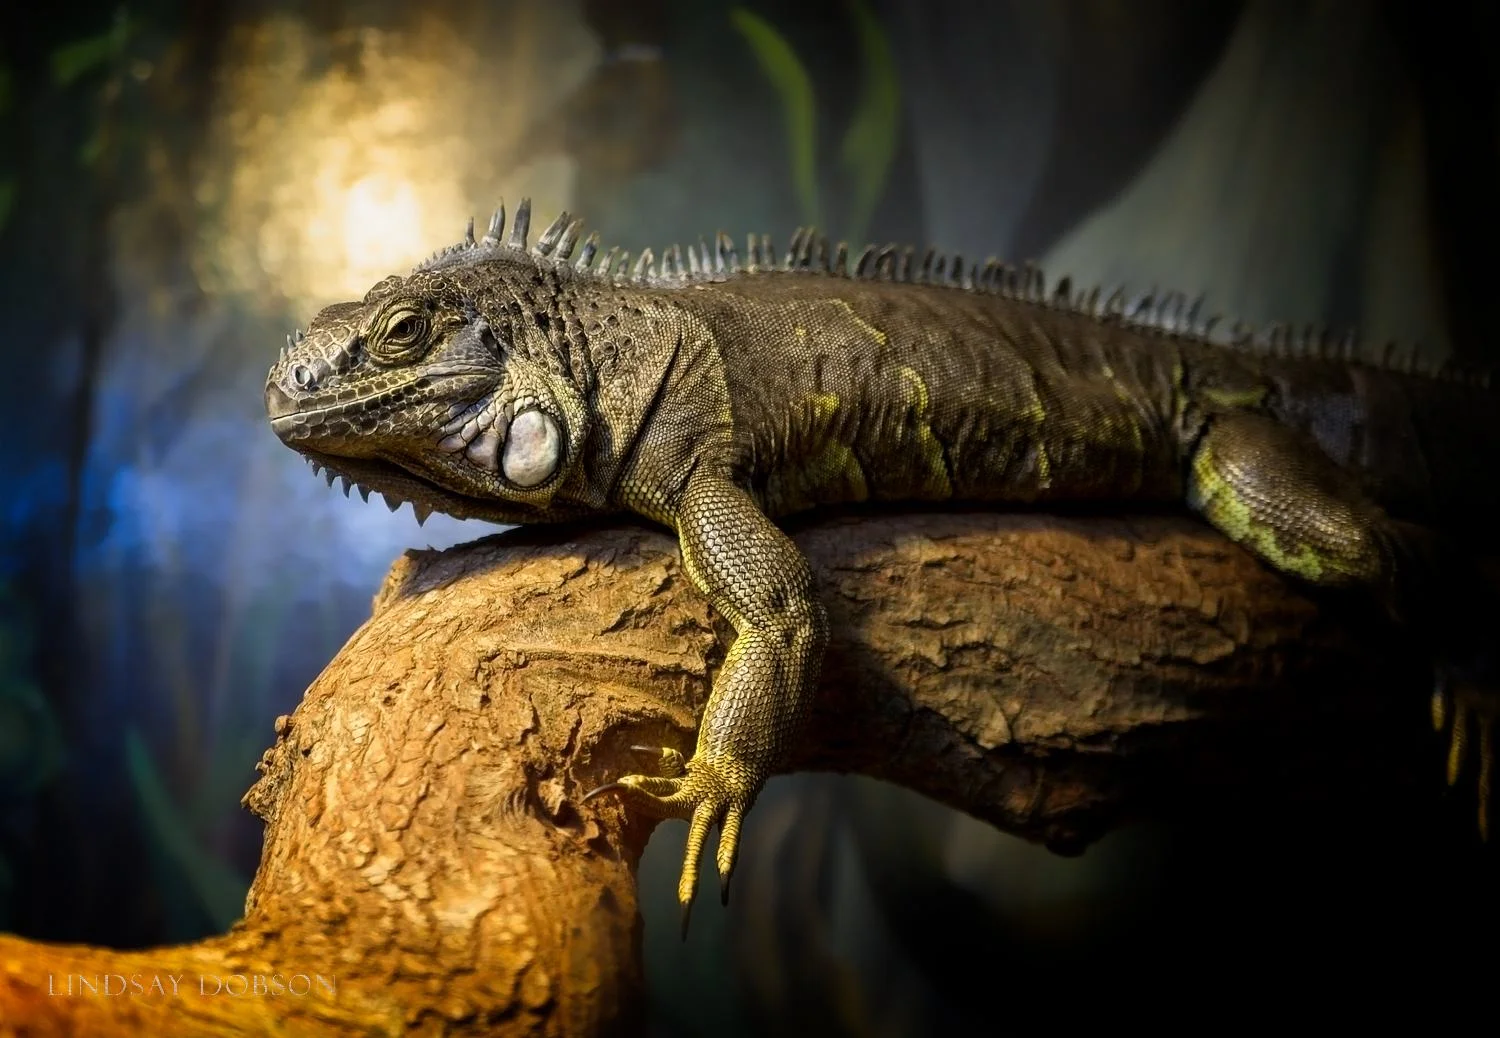
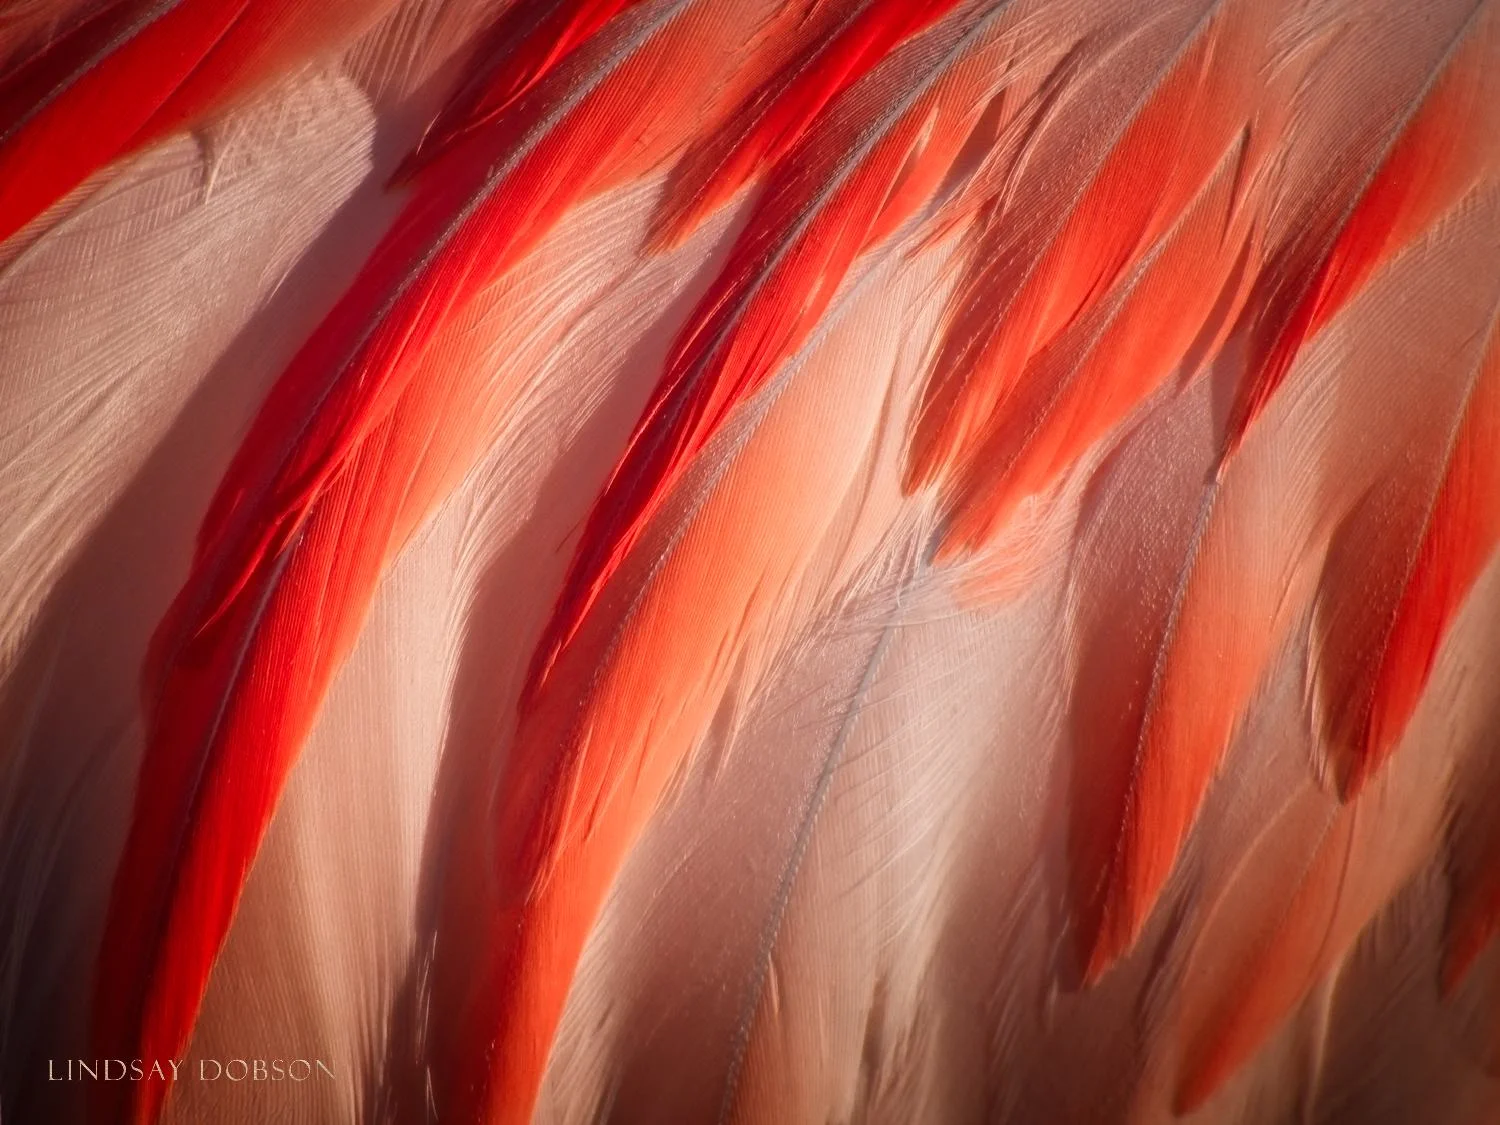
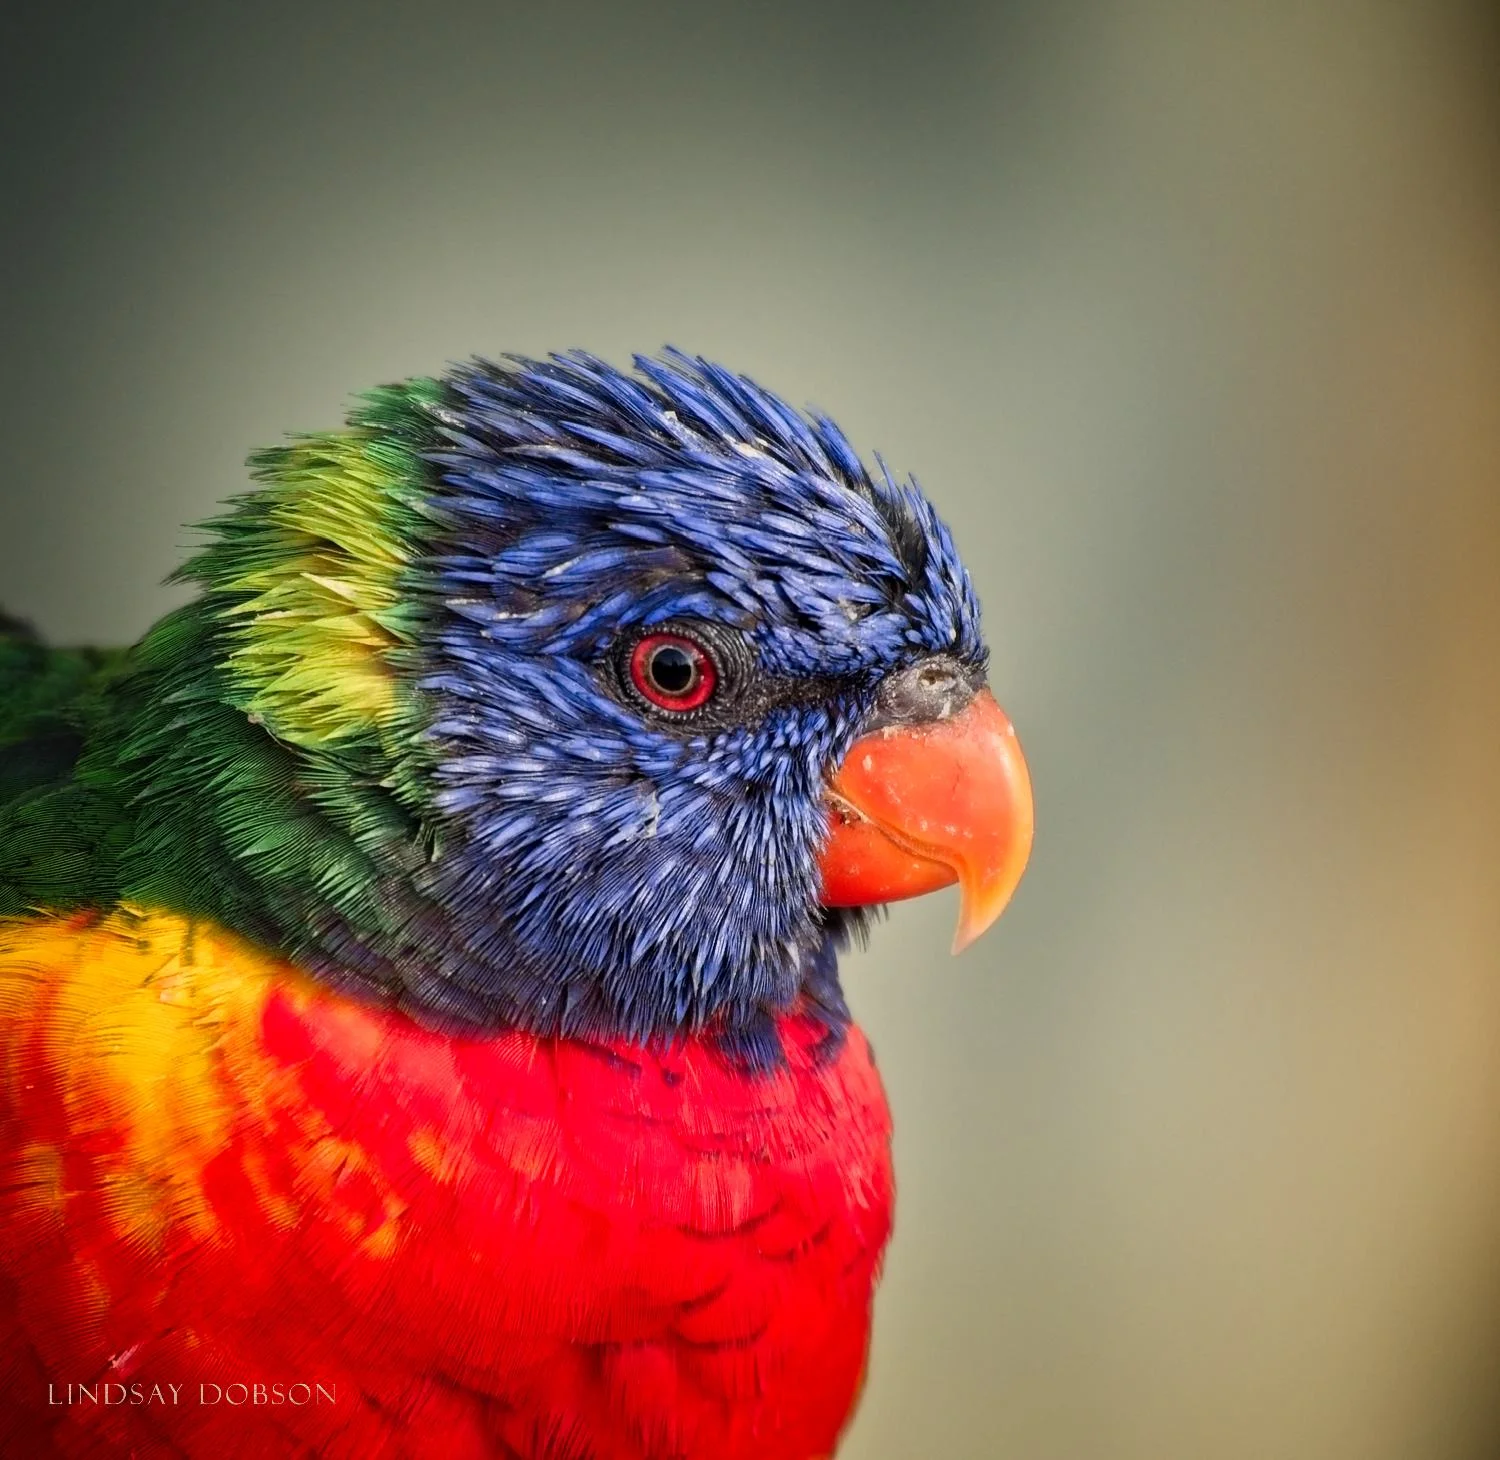
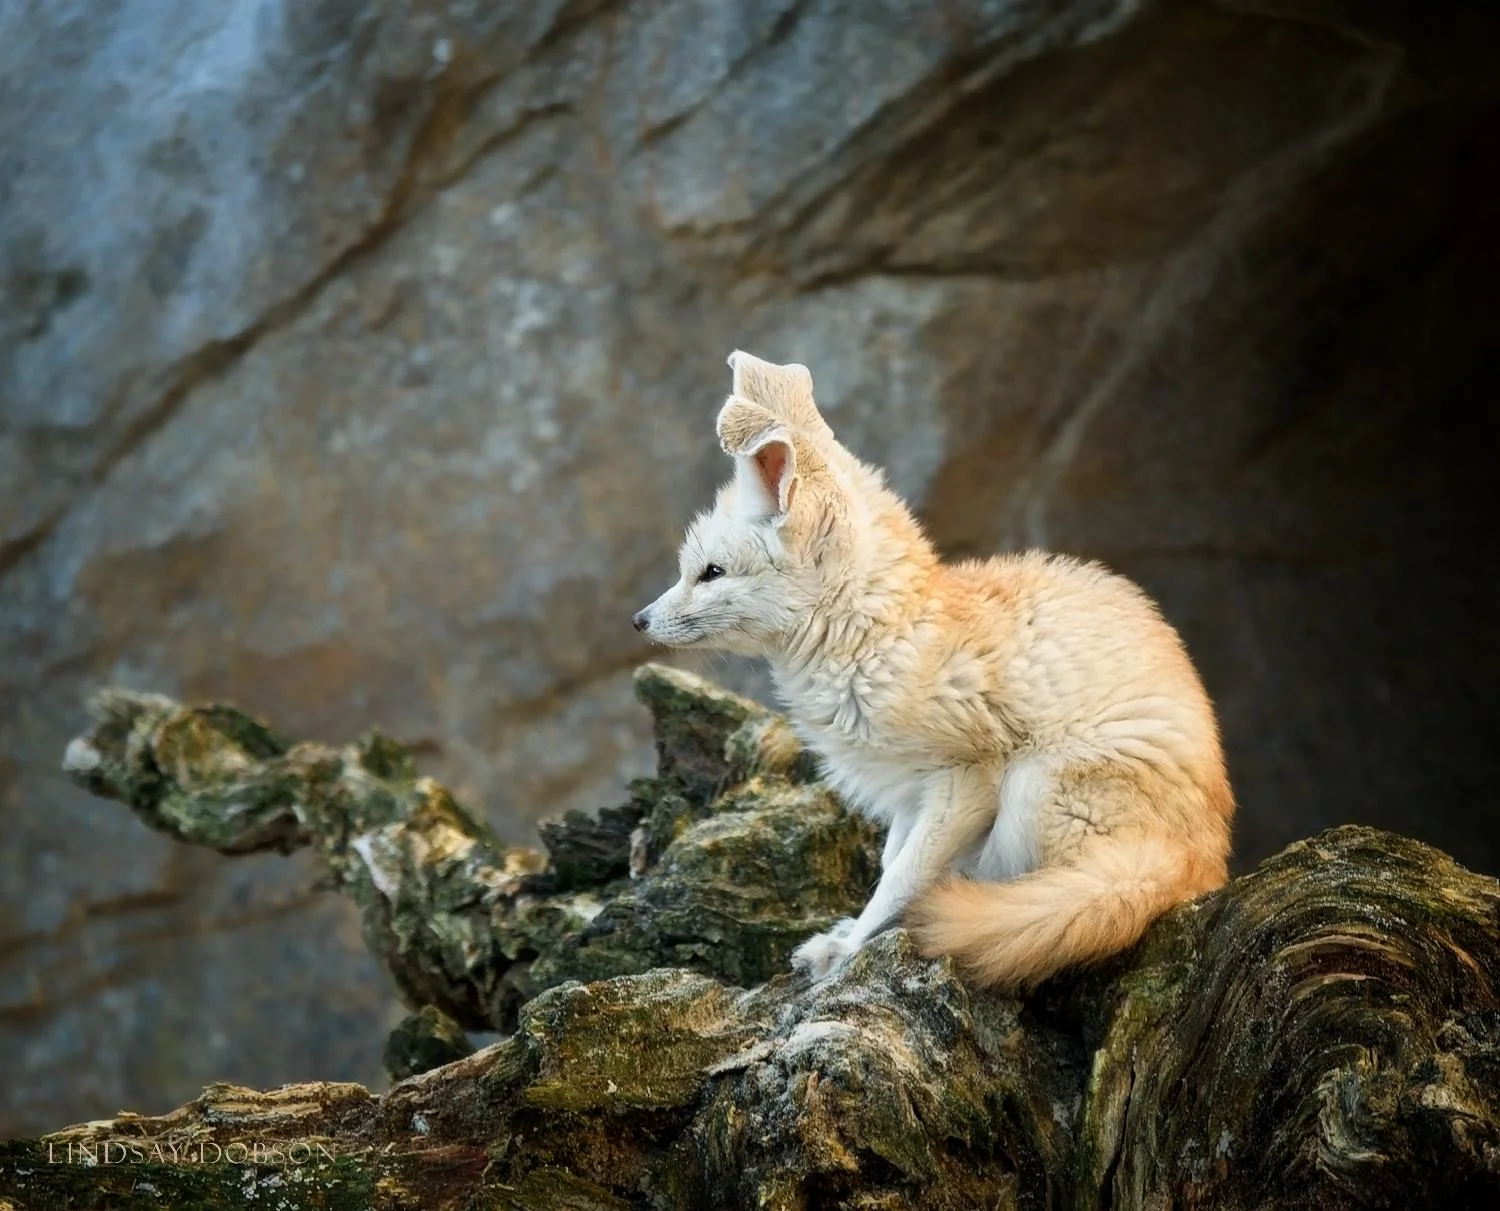
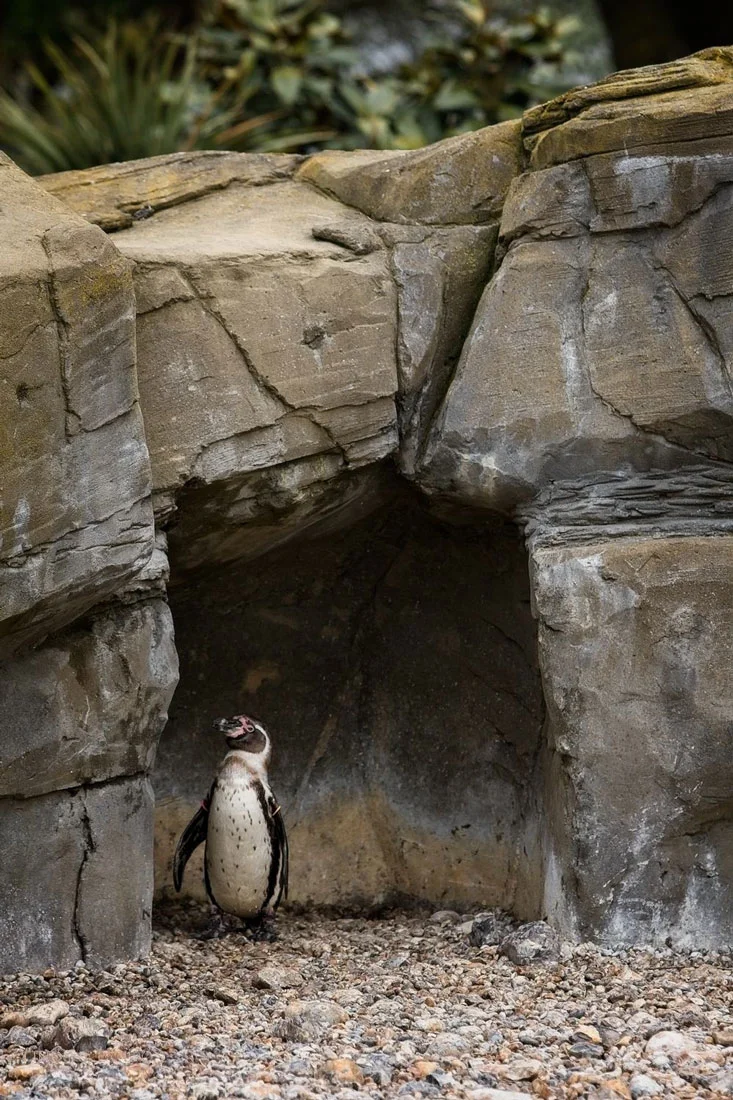
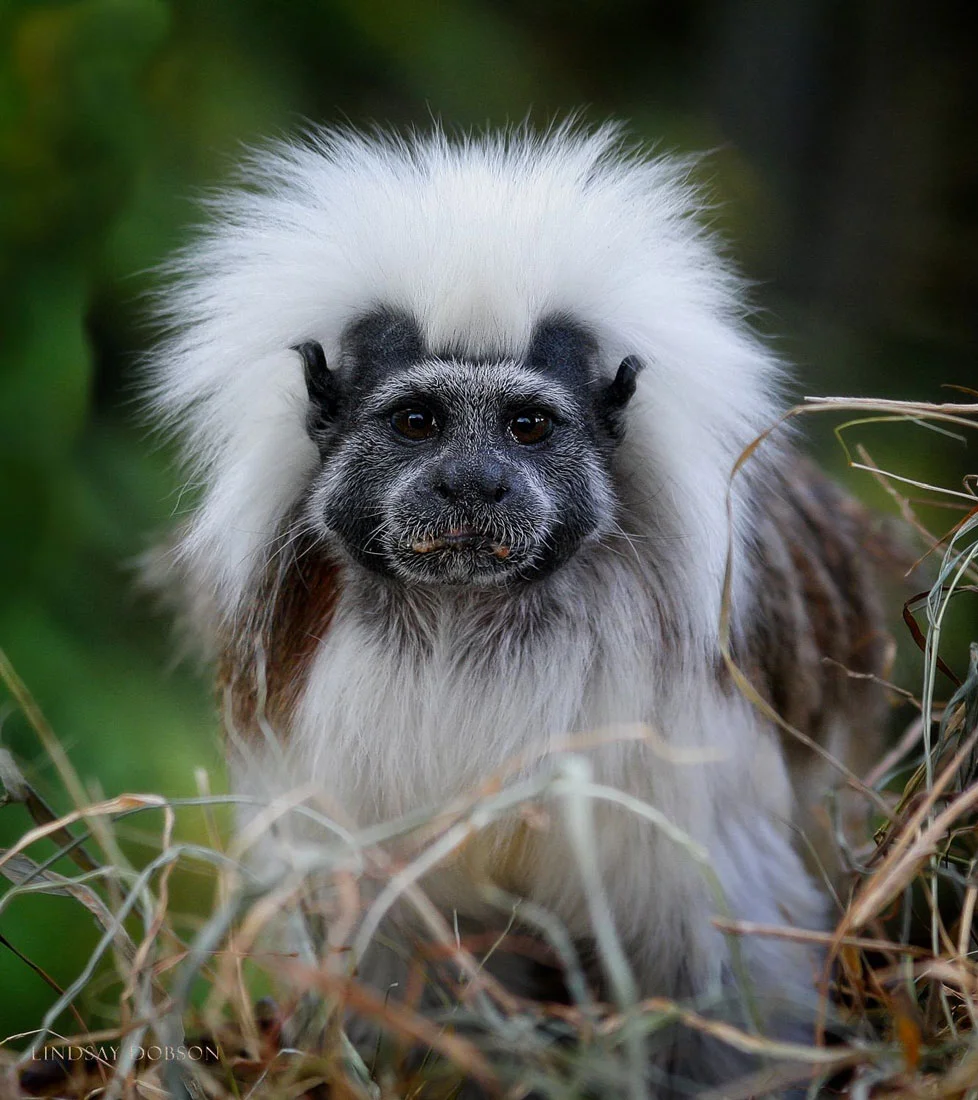
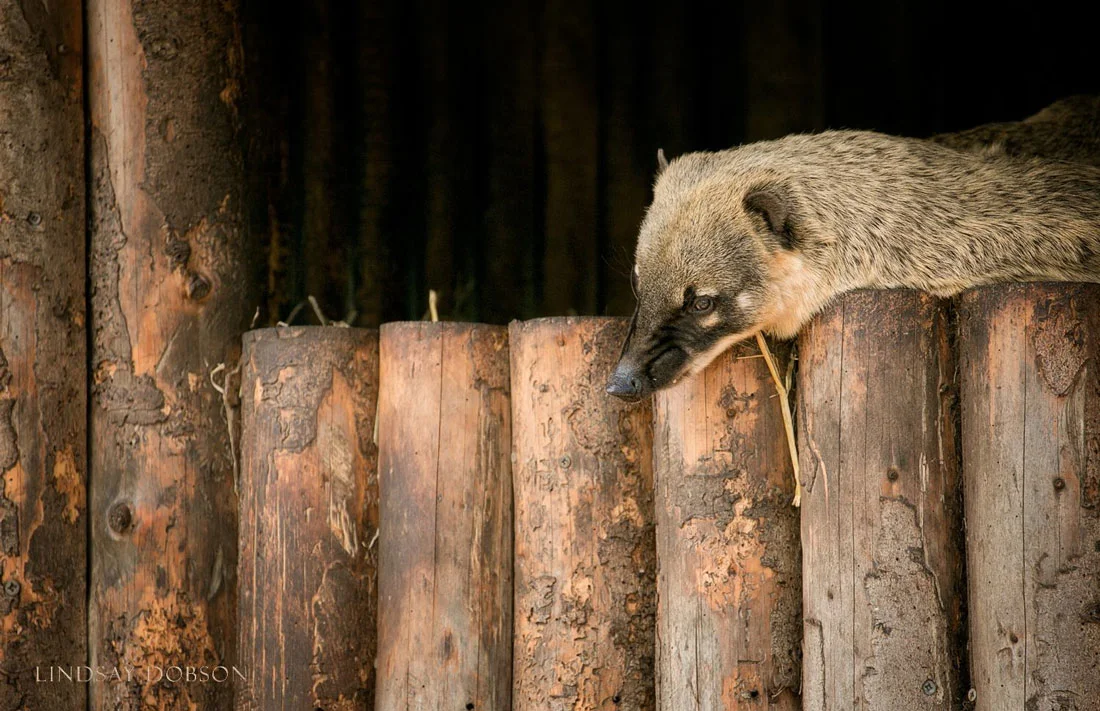
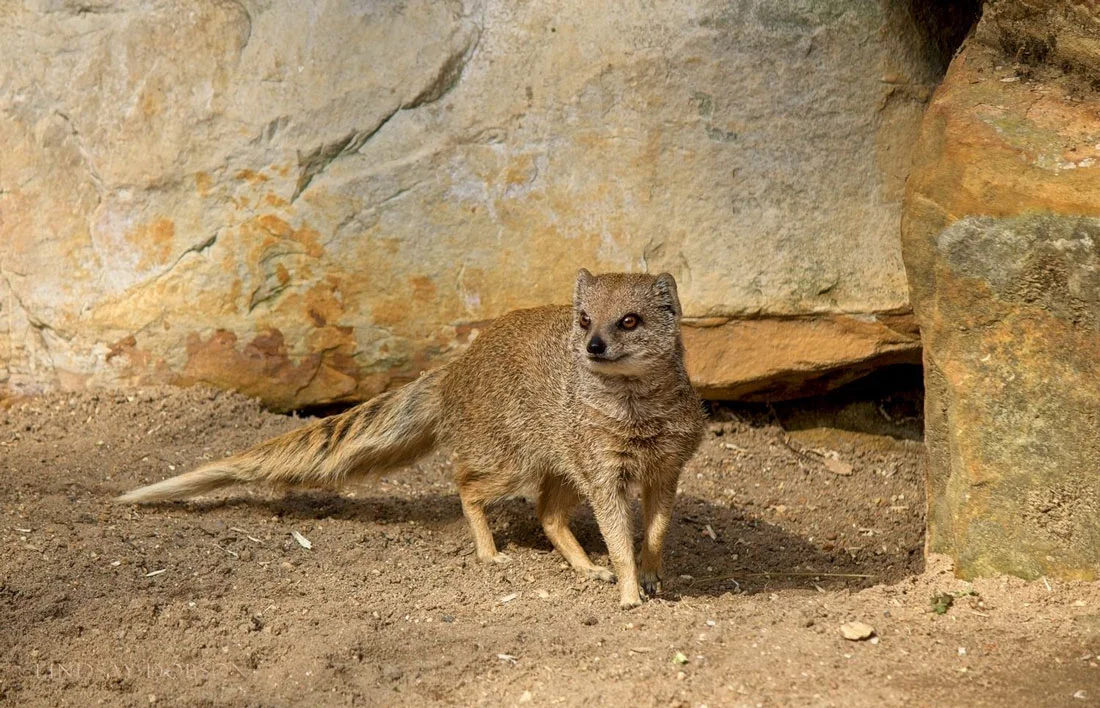
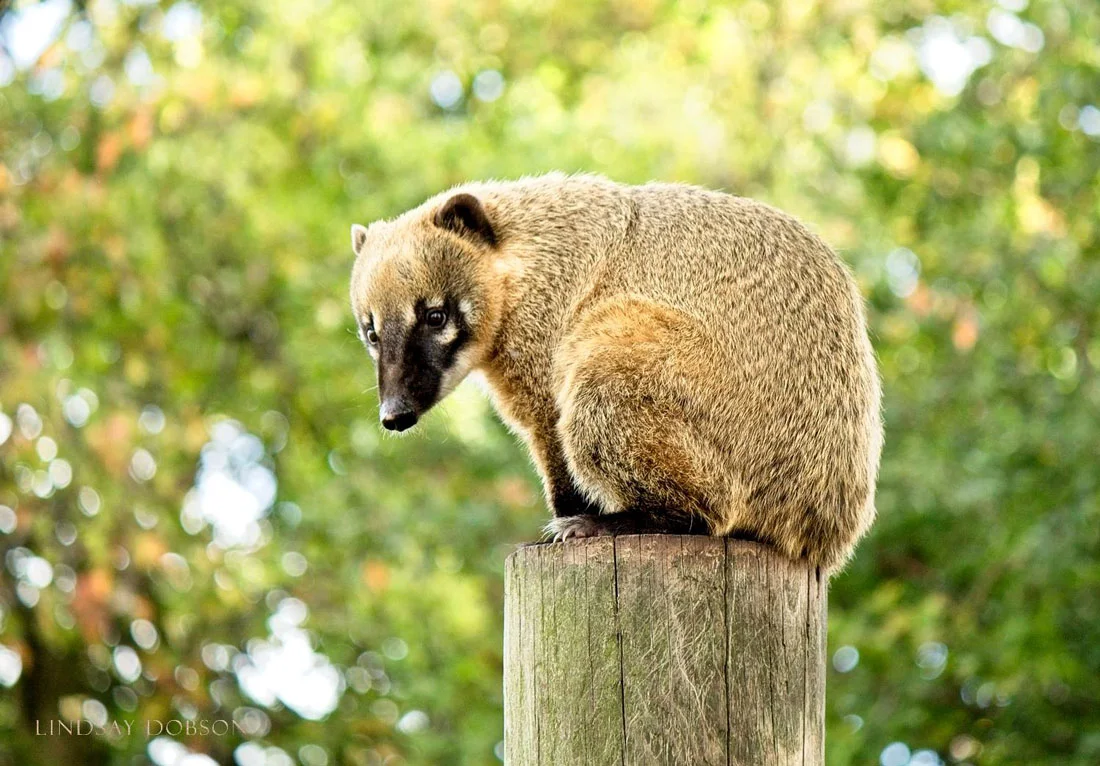
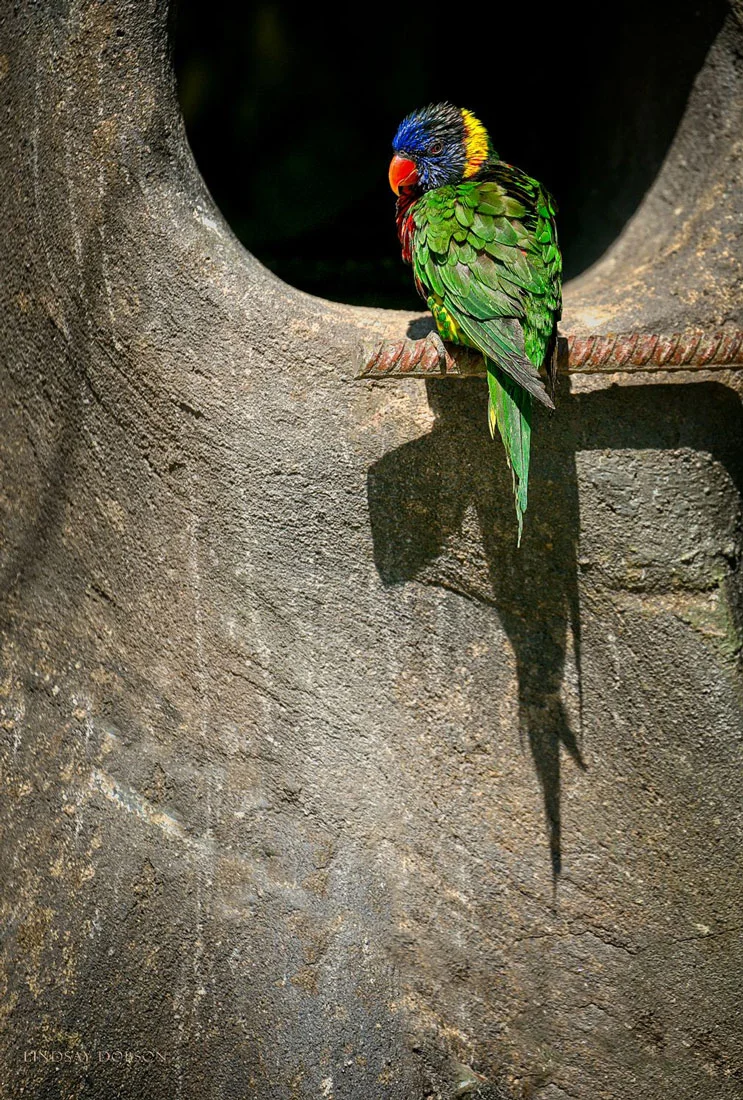
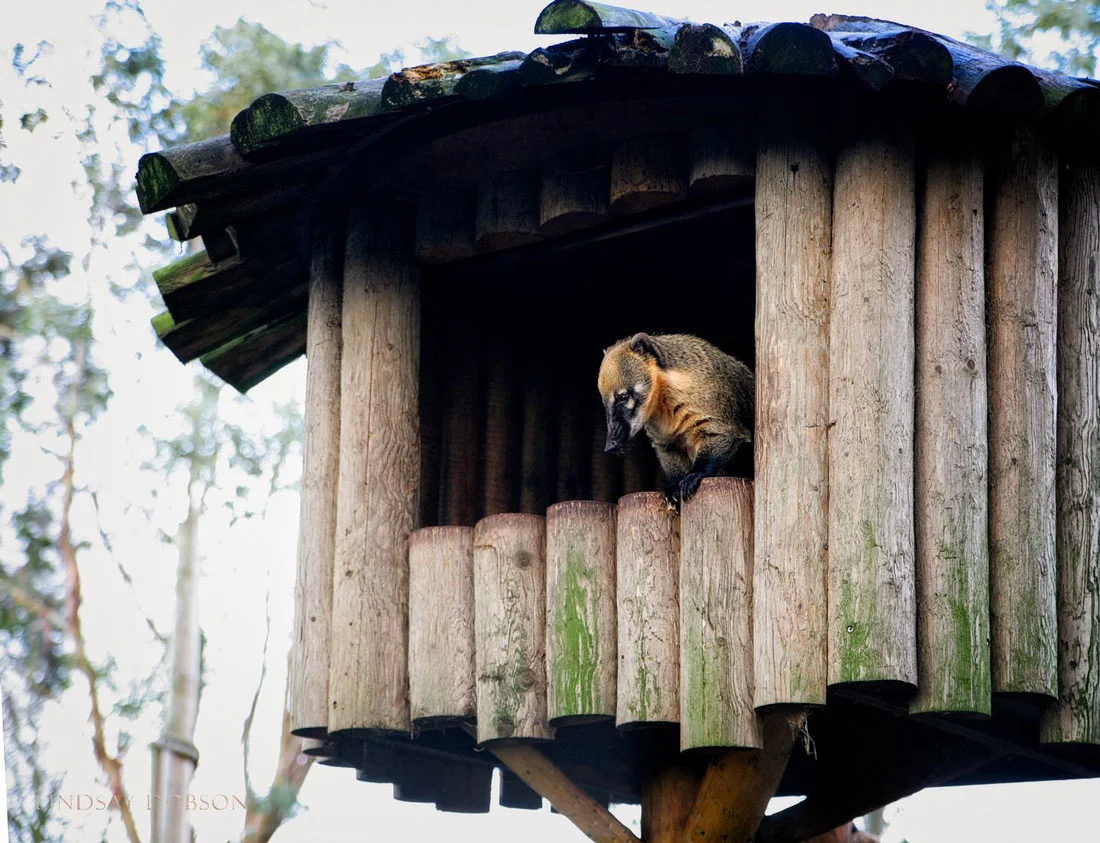
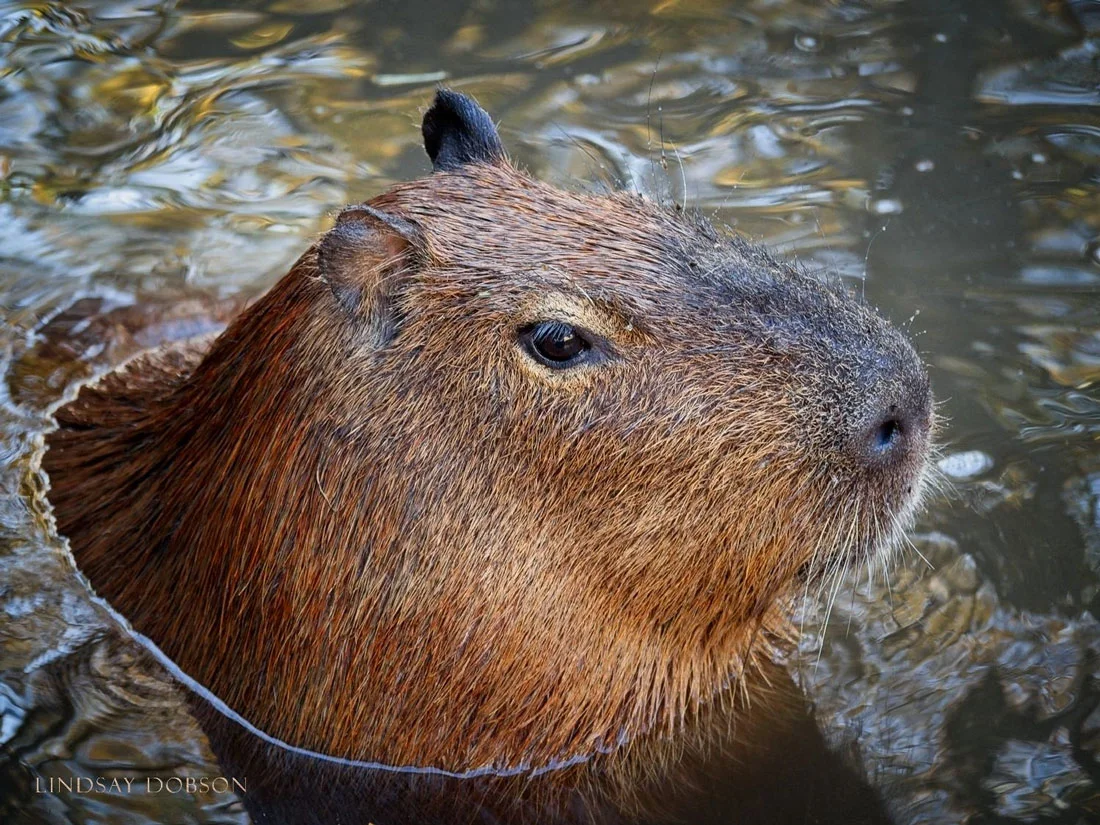
Below is a collection of photographs showing the kind of shots you can easily aim to get on a typical outing to your local zoo or animal park. Look carefully at the compositions (broadly speaking that means where the subject has been placed in the frame and the relationship with other elements in the scene). Not only do we have to worry about the technical side of photography, we must never overlook the creative side. The former is quite easy to learn, but composition is something which comes gradually over the years.
